Una revista en inglés para los más pequeños con la que descubrirán muchas cosas y podrán realizar un montón de actividades. No os la perdáis


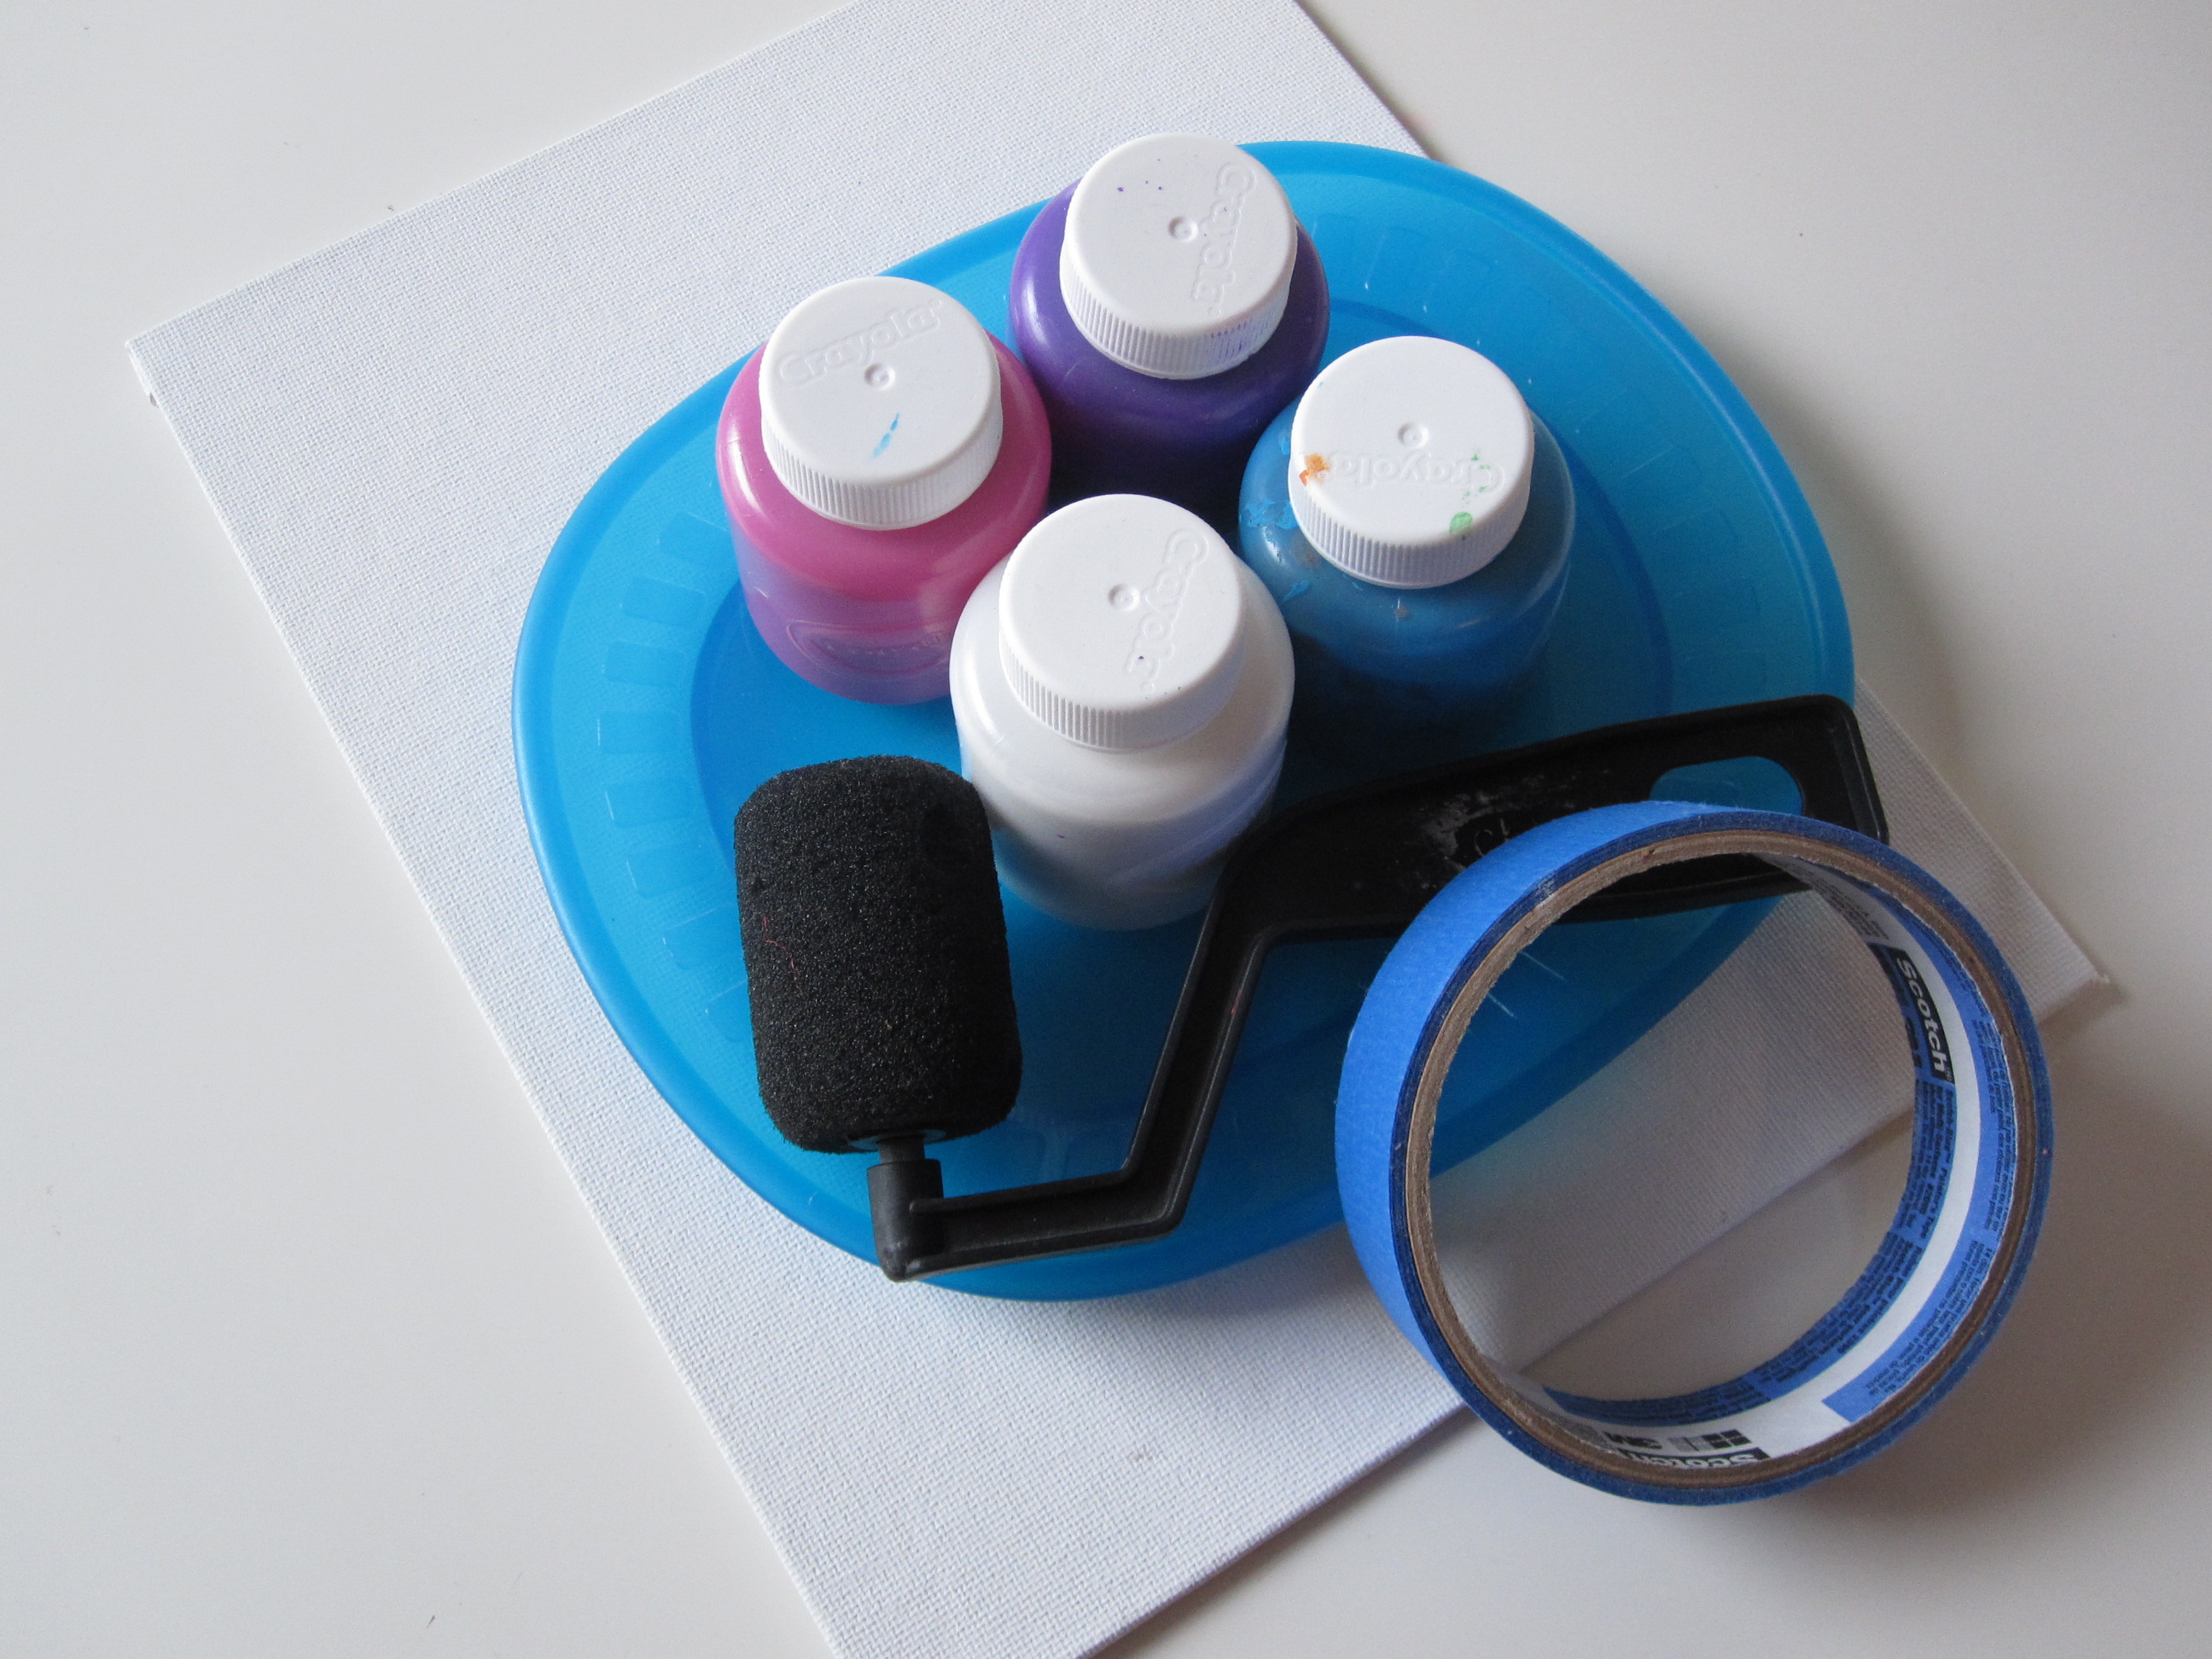
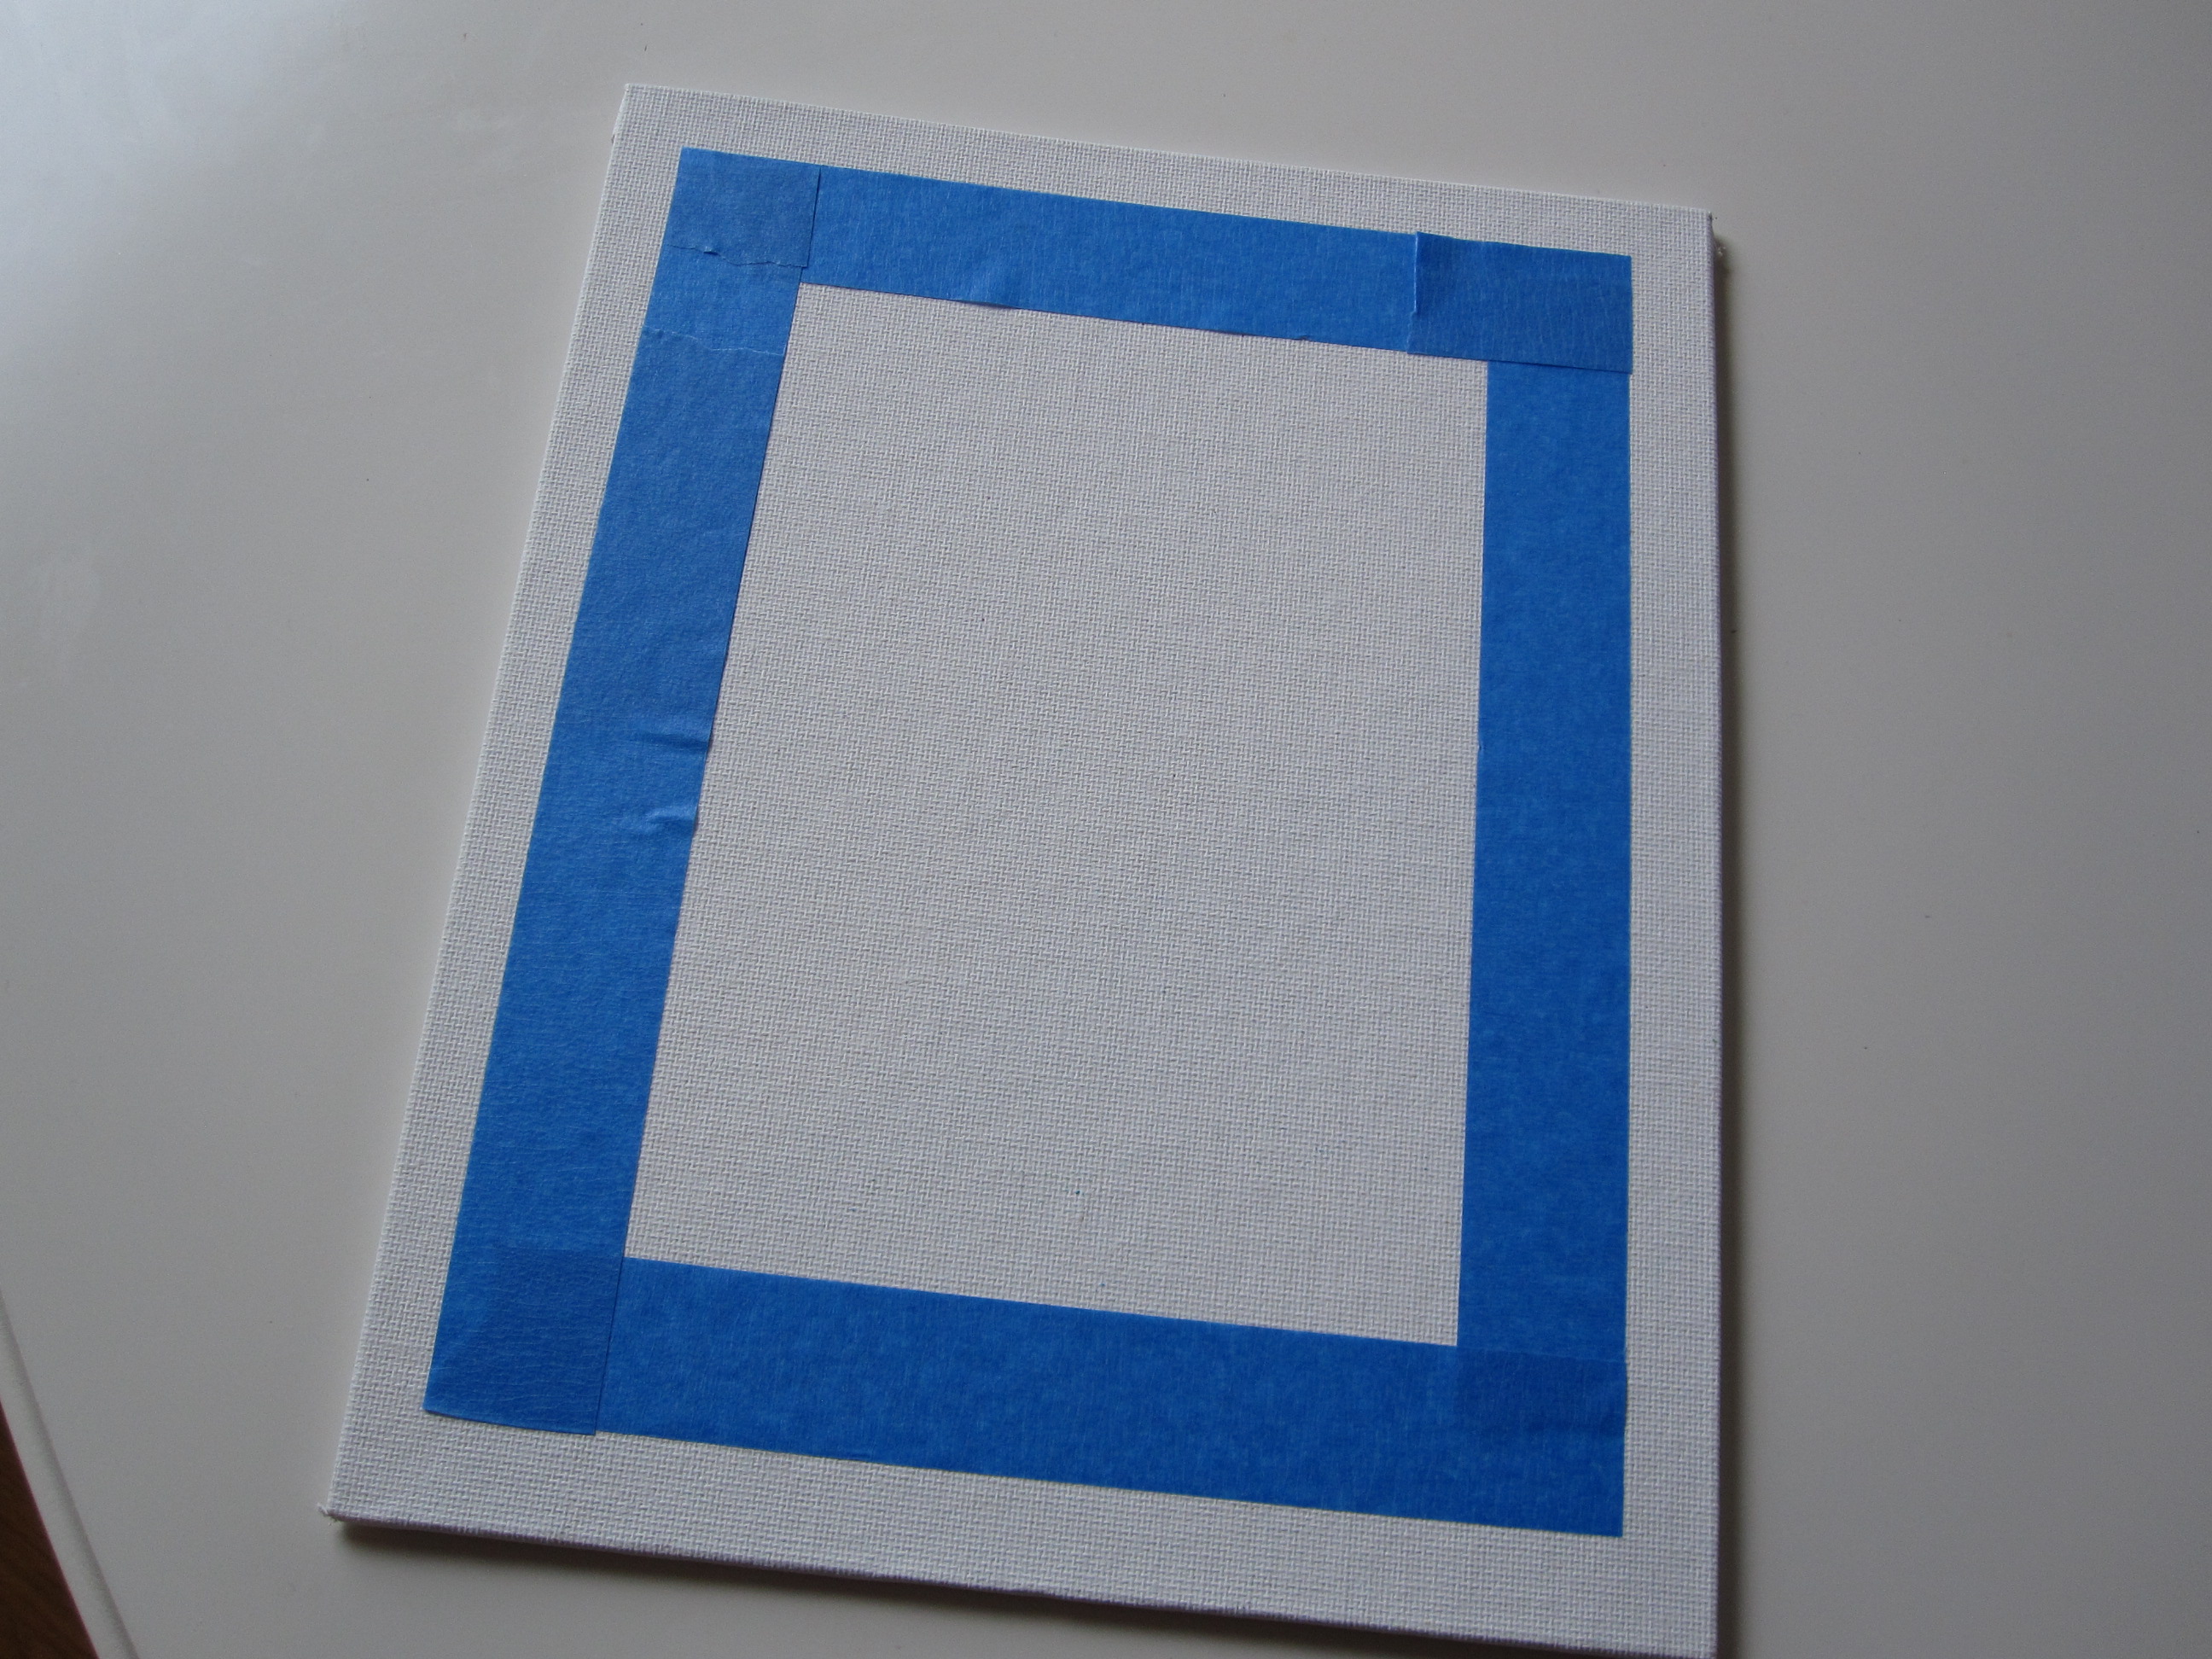
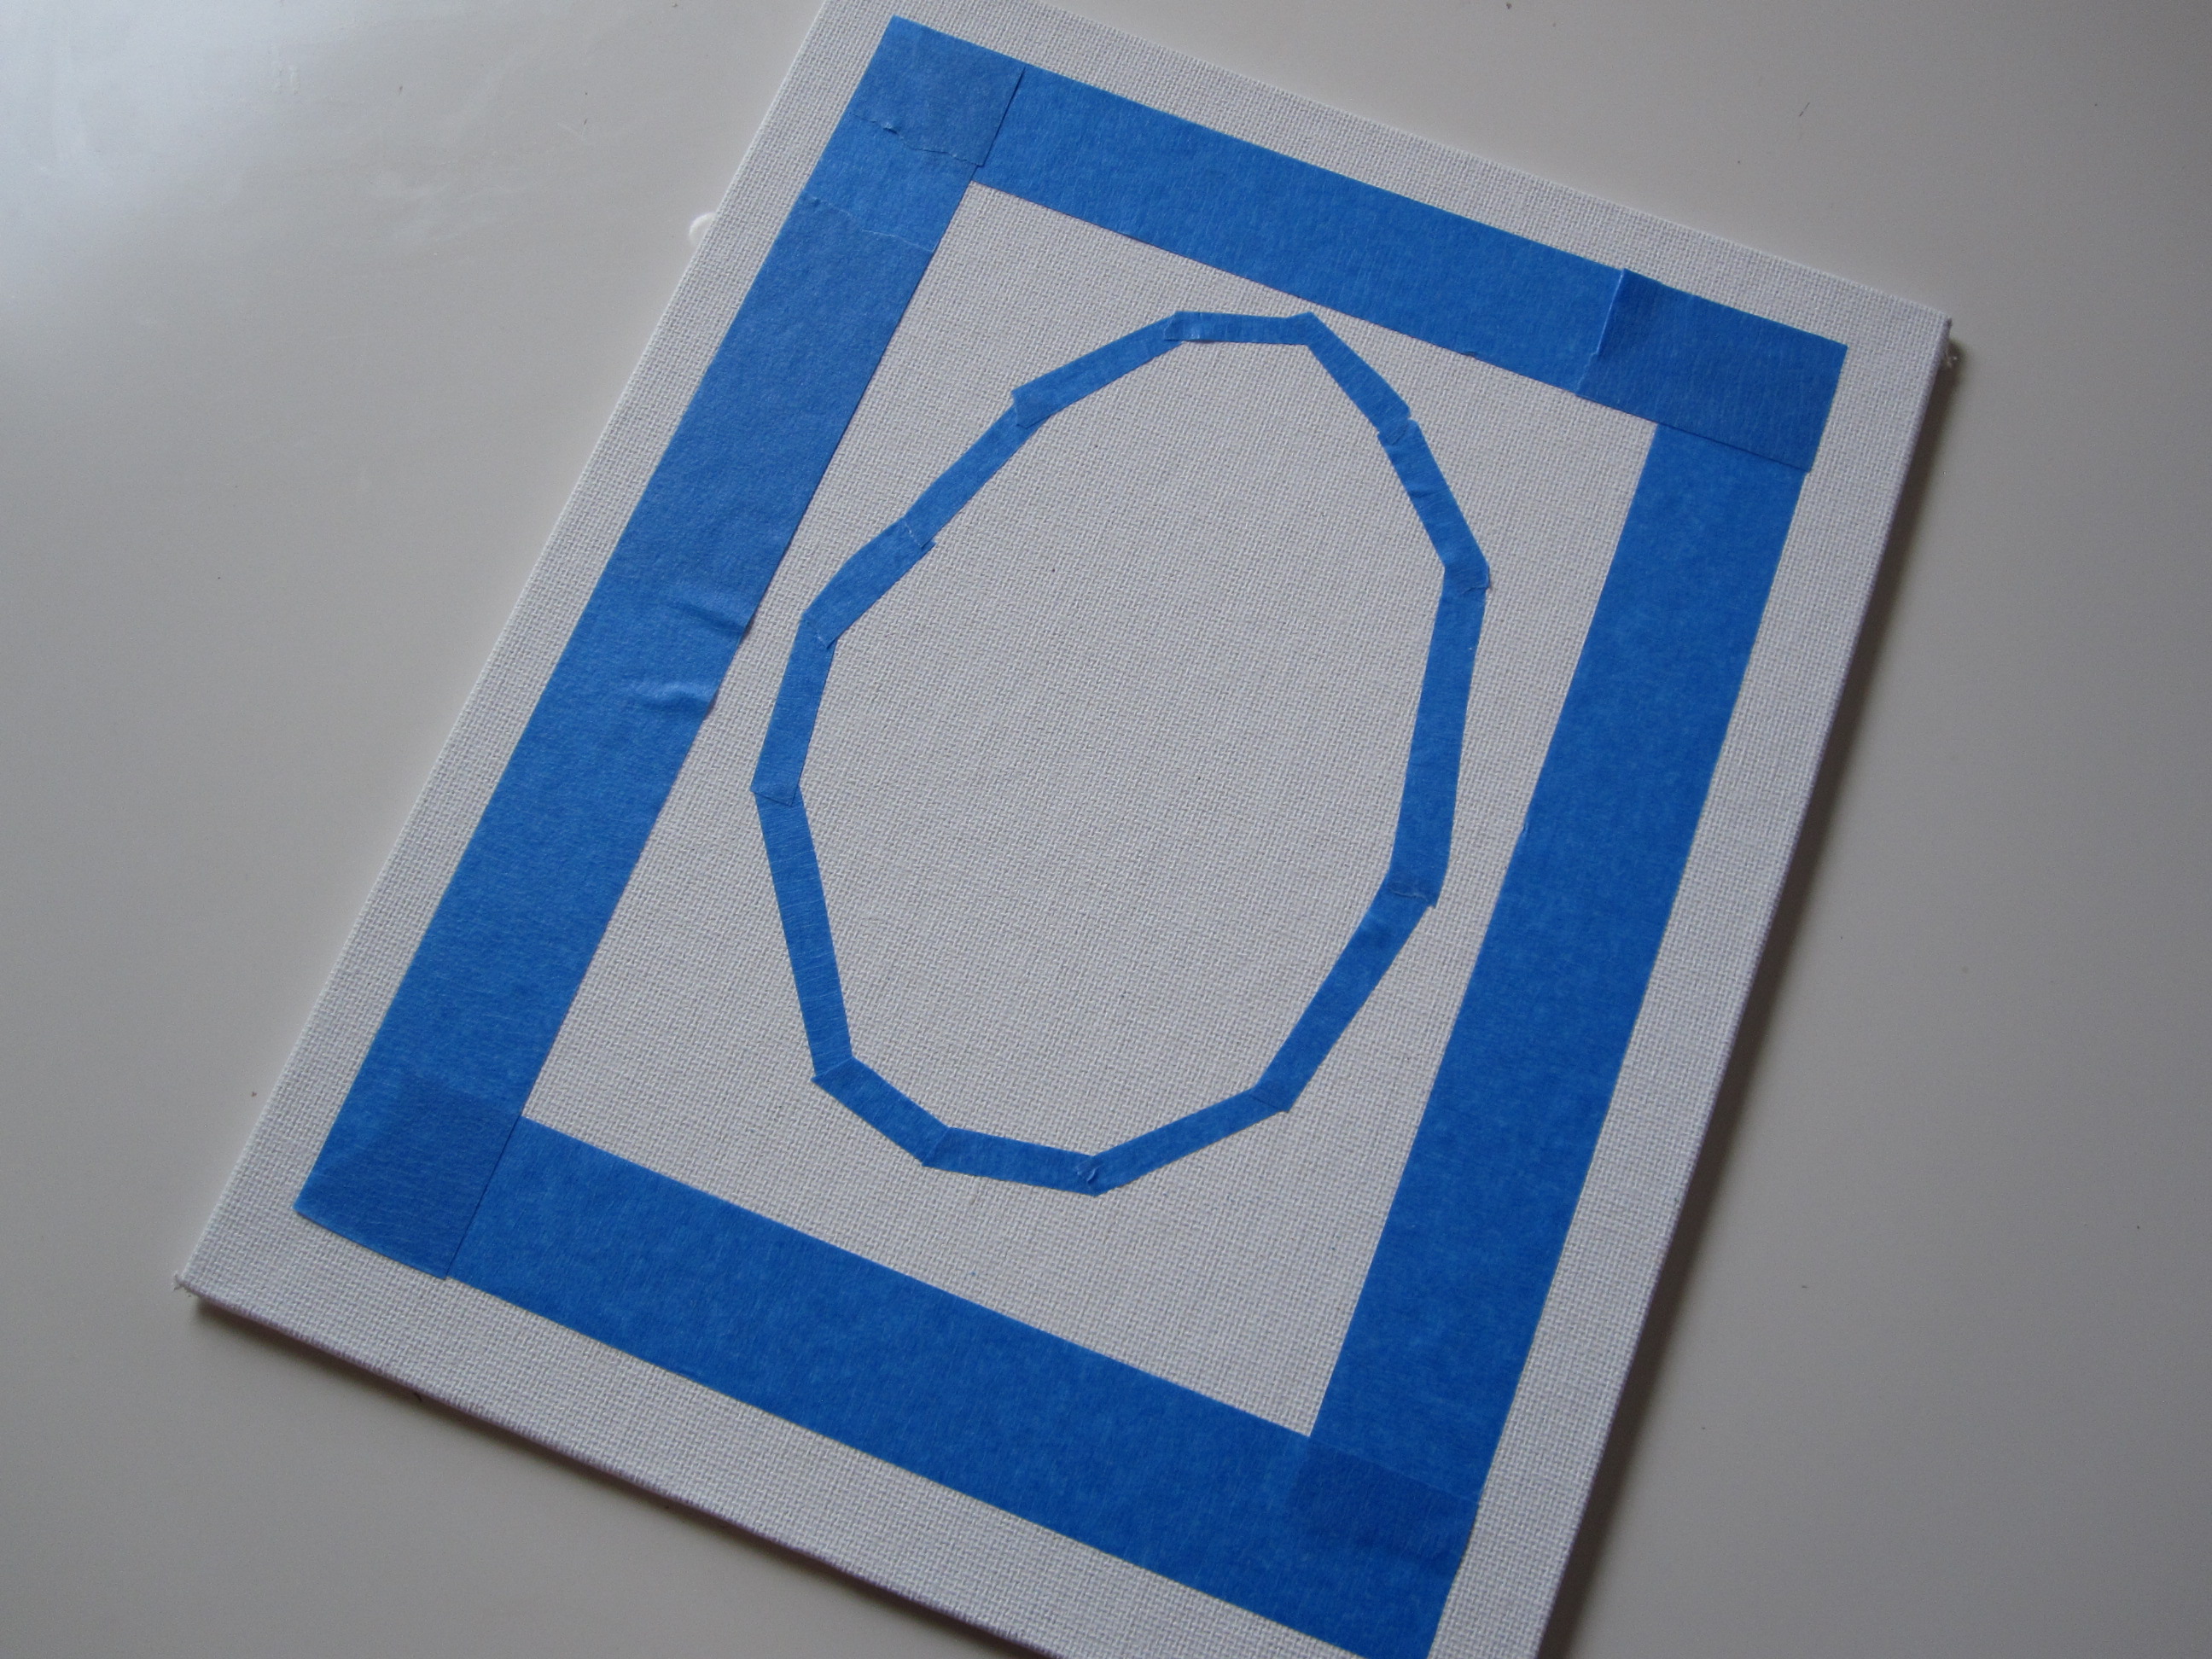



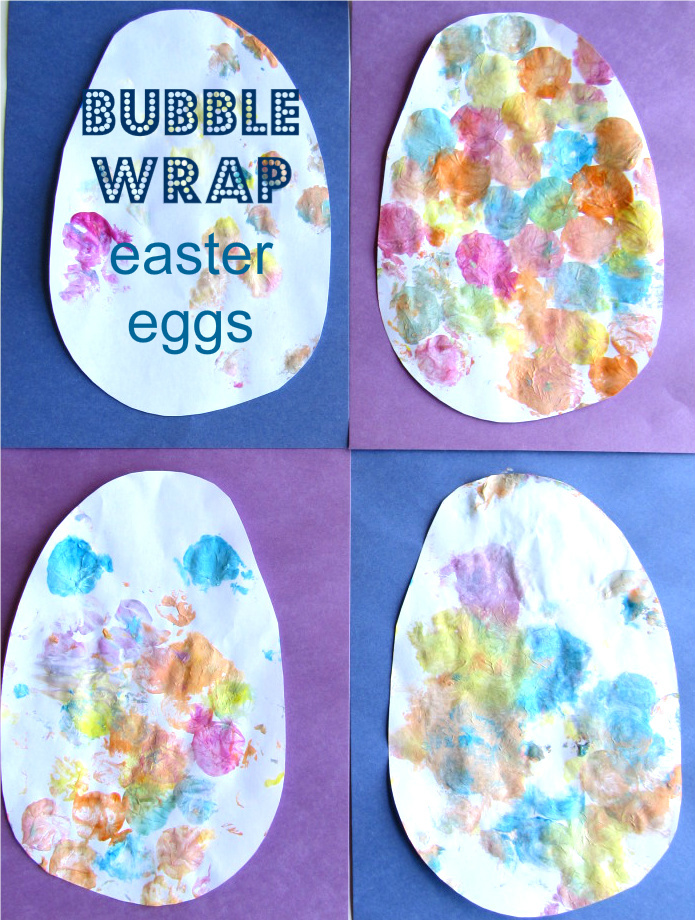
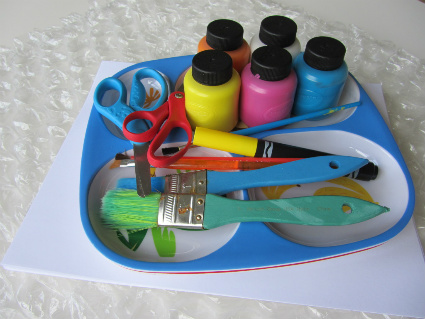
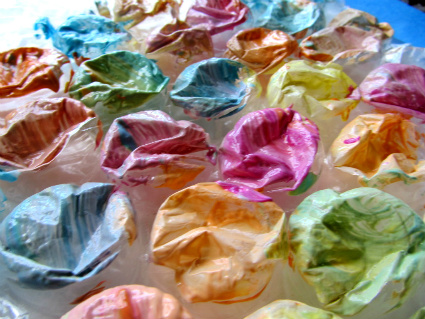
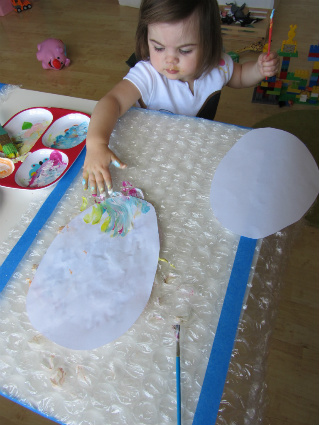
- Gather your materials. You will need some paper, bubble wrap ( the big ones works well), paint, a tray or plate for paint, brushes ( love ours from craftprojectideas.com ) , some painter’s tape , scissors and if you want to display it a few sheets of construction paper and glue.
- Start by cutting out some paper eggs.
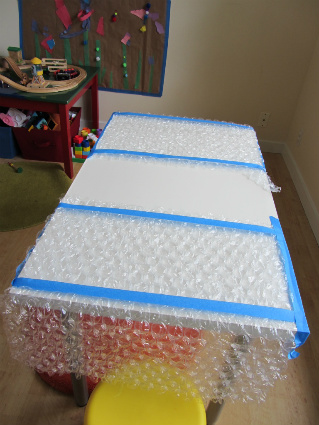
- Next attach the bubble wrap to the table.
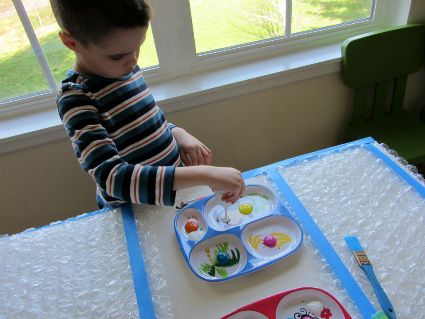
- Dish out the paint.
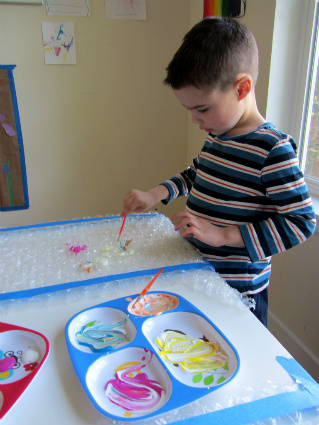
- Mix.
- Paint the bubble wrap.
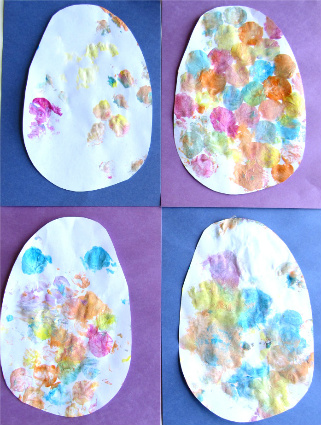
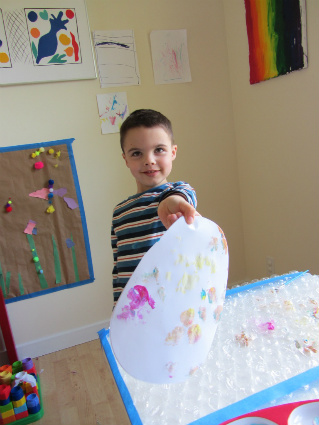
- Print the paper on.
- Voila !
- Glue to construction paper and you have a super easy Easter craft for all ages.


Easy Easter Treats

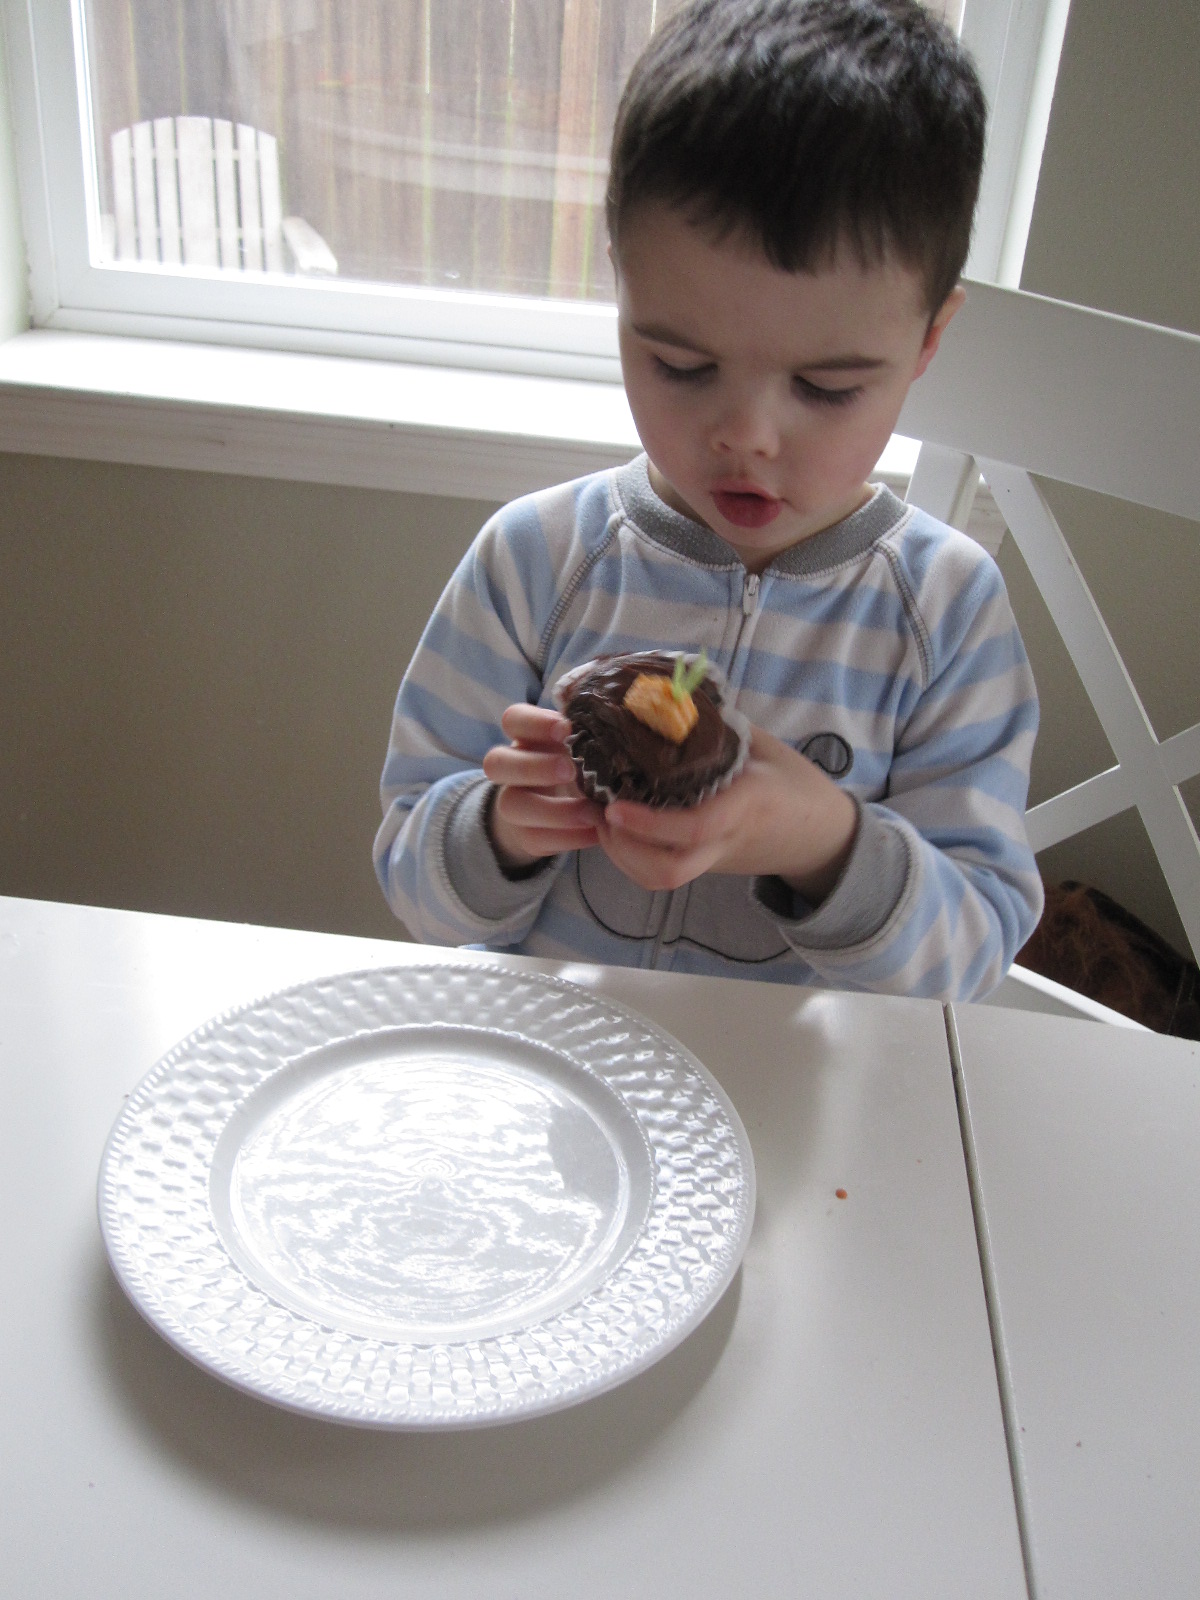
Carrot Cupcakes

- Gather your materials. Grab your favorite carrot cake and cream cheese icing recipes or boxed mix and a tub of icing, orange and green jelly bellys . I should note that although I did use a mix I also mixed in 1/4 cup of crushed pineapple and it was very very yummy.
- Bake and cool your cupcakes.
- Ice them and add your jelly beans in the shape of a carrot!

Frozen Yogurt Eggs

- Gather your materials. You will need a silicone mini cake pan ( they still have Easter themed ones at both Target and Walmart in my area), a blender, low fat vanilla yogurt, and frozen or fresh fruit of your choice.
- Pop 2 scoops of the yogurt in ( about 3/4 cup) and 1/2 – 3/4 cups of the fruit.
- Blend
- Pour
- Freeze ( we froze ours for 2 hours and they were perfect- formed but not rock hard.) If you freeze them longer just let them thaw for 30 minutes in your fridge before serving them so they are soft enough to eat with a spoon.
- Pop out of the mold and enjoy !


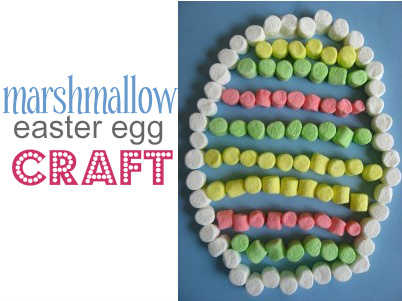
- Gather your materials. You will need some white and colored mini marshmallows, construction paper, glue and a marker.
- Start by drawing an Easter egg on your paper.
- Add glue along the line.
- Add your white marshmallows along the edge. We did 15 then ate one, 21 then ate one , and 17 and ate one.
- Next ask your child how many stripes they want.
- Add your colored marshmallows. We decided to add a sorting element by saying the lines can be any color, but it must be all one color.
- Keep going!
- Let dry.


Easter Egg Magnets
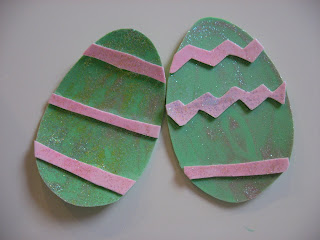
- Gather your materials. You will need some foam sheets, we used 2 colors but use as many as you have or want, some glue, a few colors of glitter glue , scissors and magnetic tape.
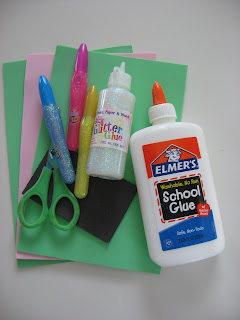 * word of caution when doing things with magnets and your children. Magnets can be really dangerous if swallowed so I always use these large pieces and make sure they are far too big to fit in a child’s mouth. Even when you think they are over the stick it all in my mouth stage, they will surprise you and it’s not worth the risk.
 - Start by drawing an oval or two on a sheet of foam with a marker.

- Have your child use the glitter glue to decorate, they don’t need to be exact or careful. A lot of glitter glue is tough to squeeze but if your child is anything like mine they will insist on doing it themselves.
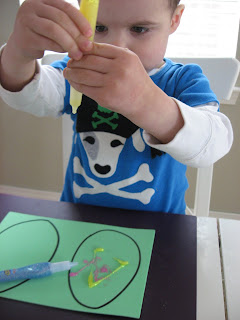
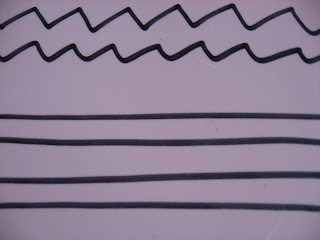
- While they exert their independence and get glitter all over the egg and themselves, draw some lines and zig zags on a second sheet of foam.
- Rub the glitter around to spread it, not only will this look cool , it cuts the drying time.

- Decorate the 2nd sheet with glitter as well.
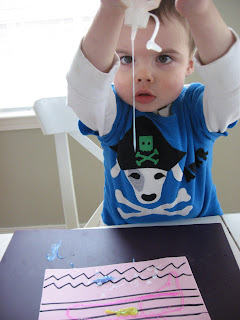
- Let dry
- Cut out the stripes and zig zags
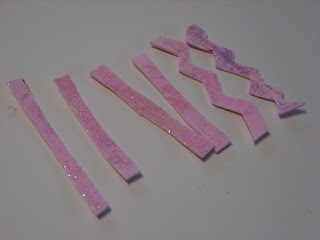
- I added the glue in strips
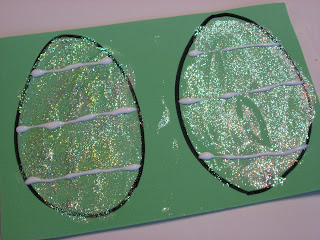
- Add the stripes and zig zags and let dry.
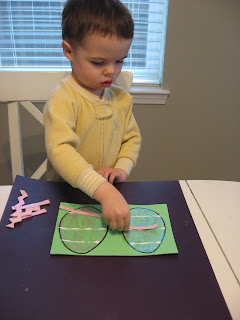
- Cut out the eggs

- Add the magnets
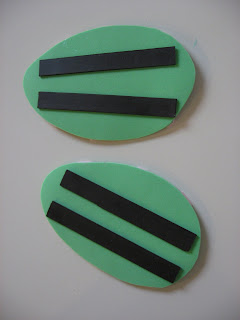
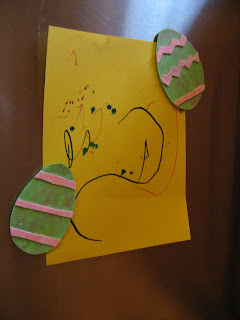


Easter Egg

- Gather your materials. You will need glue, yarn , a balloon and some ribbon.

- Blow up your balloon a little ways and tie it.

- Cut some yarn in about 12 inch pieces. For this craft I used about 20 , 12″ pieces total.

- Mix your glue with a tiny bit of water if you want, this made it easier to soak the yarn but it took longer to dry. Either way works- just don’t dilute it too much.
- Start drenching the yarn in the glue

- Laying it on the balloon. Criss cross it over the whole thing.
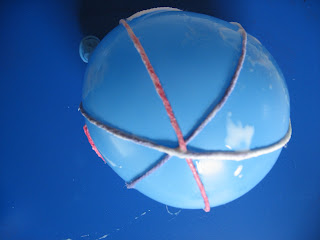
- Keep going…and going.

- When you feel it’s done let it dry , I prefer to let it dry by hanging it from a rack with a clothes pin. That way it’s not touching anything and won’t get stuck.
- When it’s dry carefully pop the balloon, and fish it out of the egg.
- Add your ribbon!
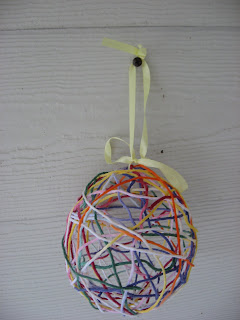


Bunny Ears Craft
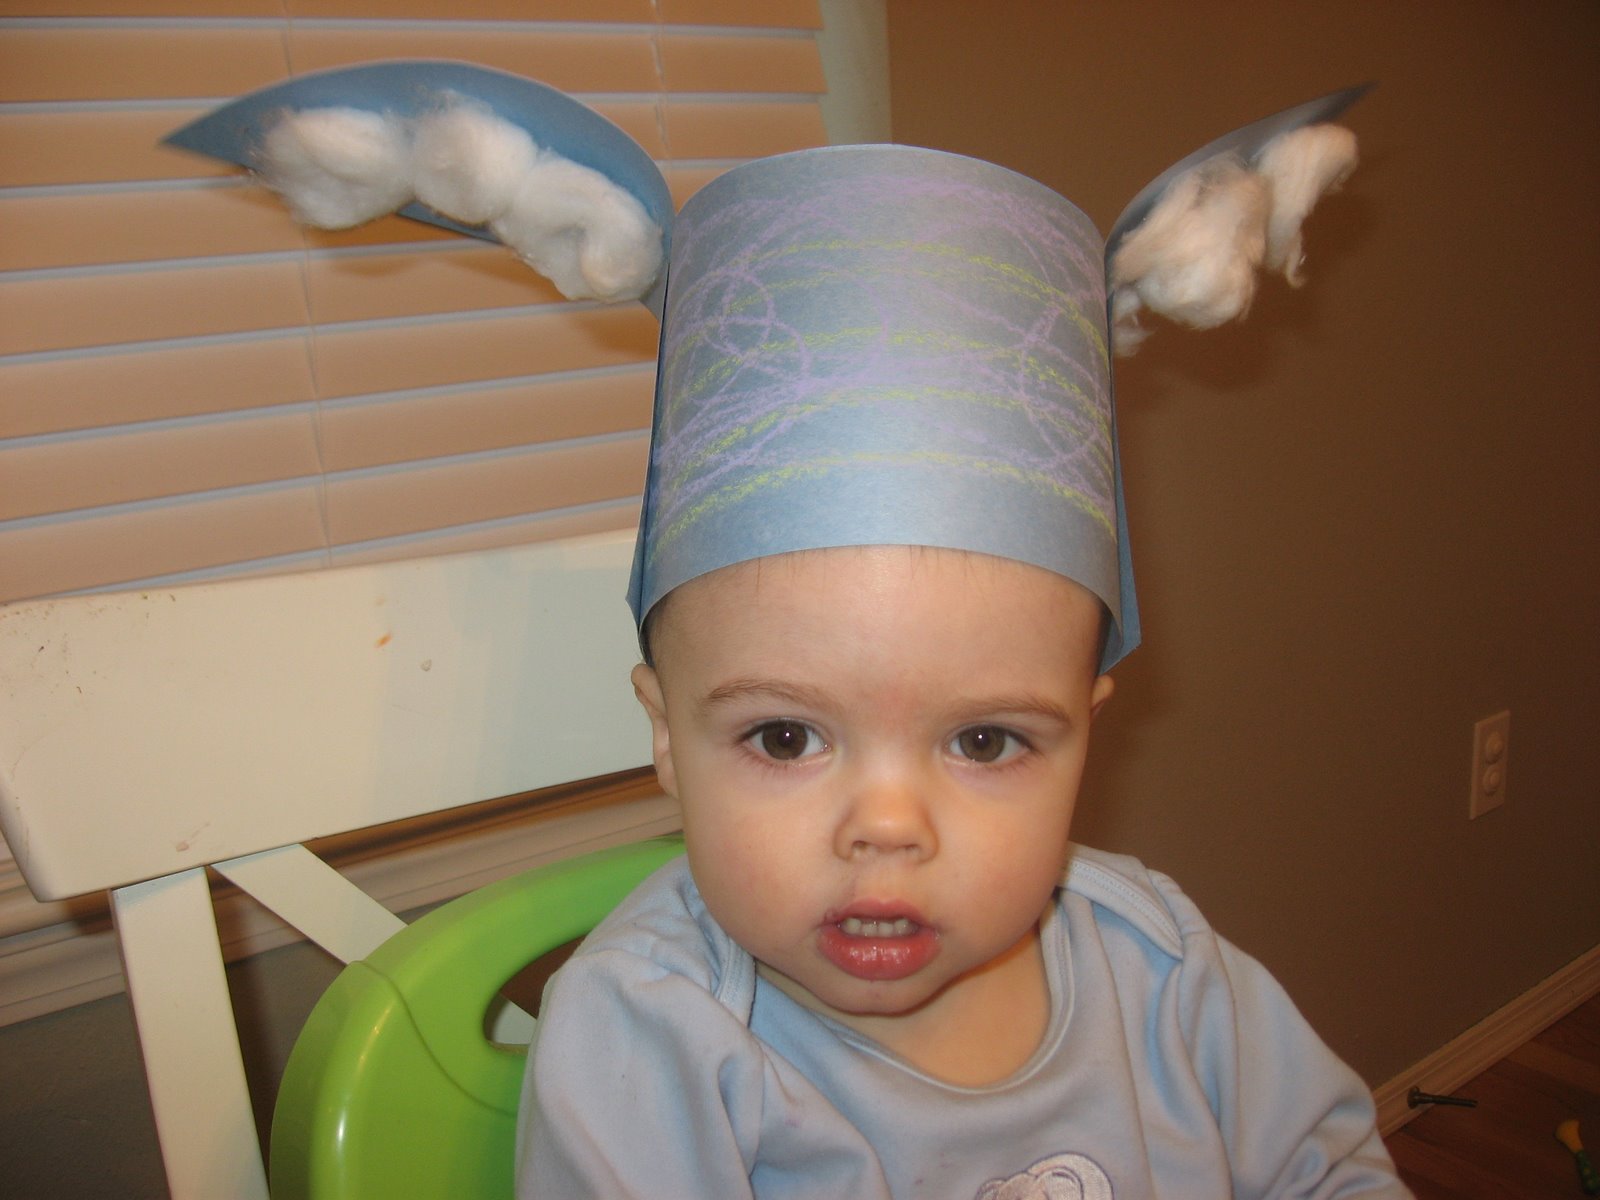
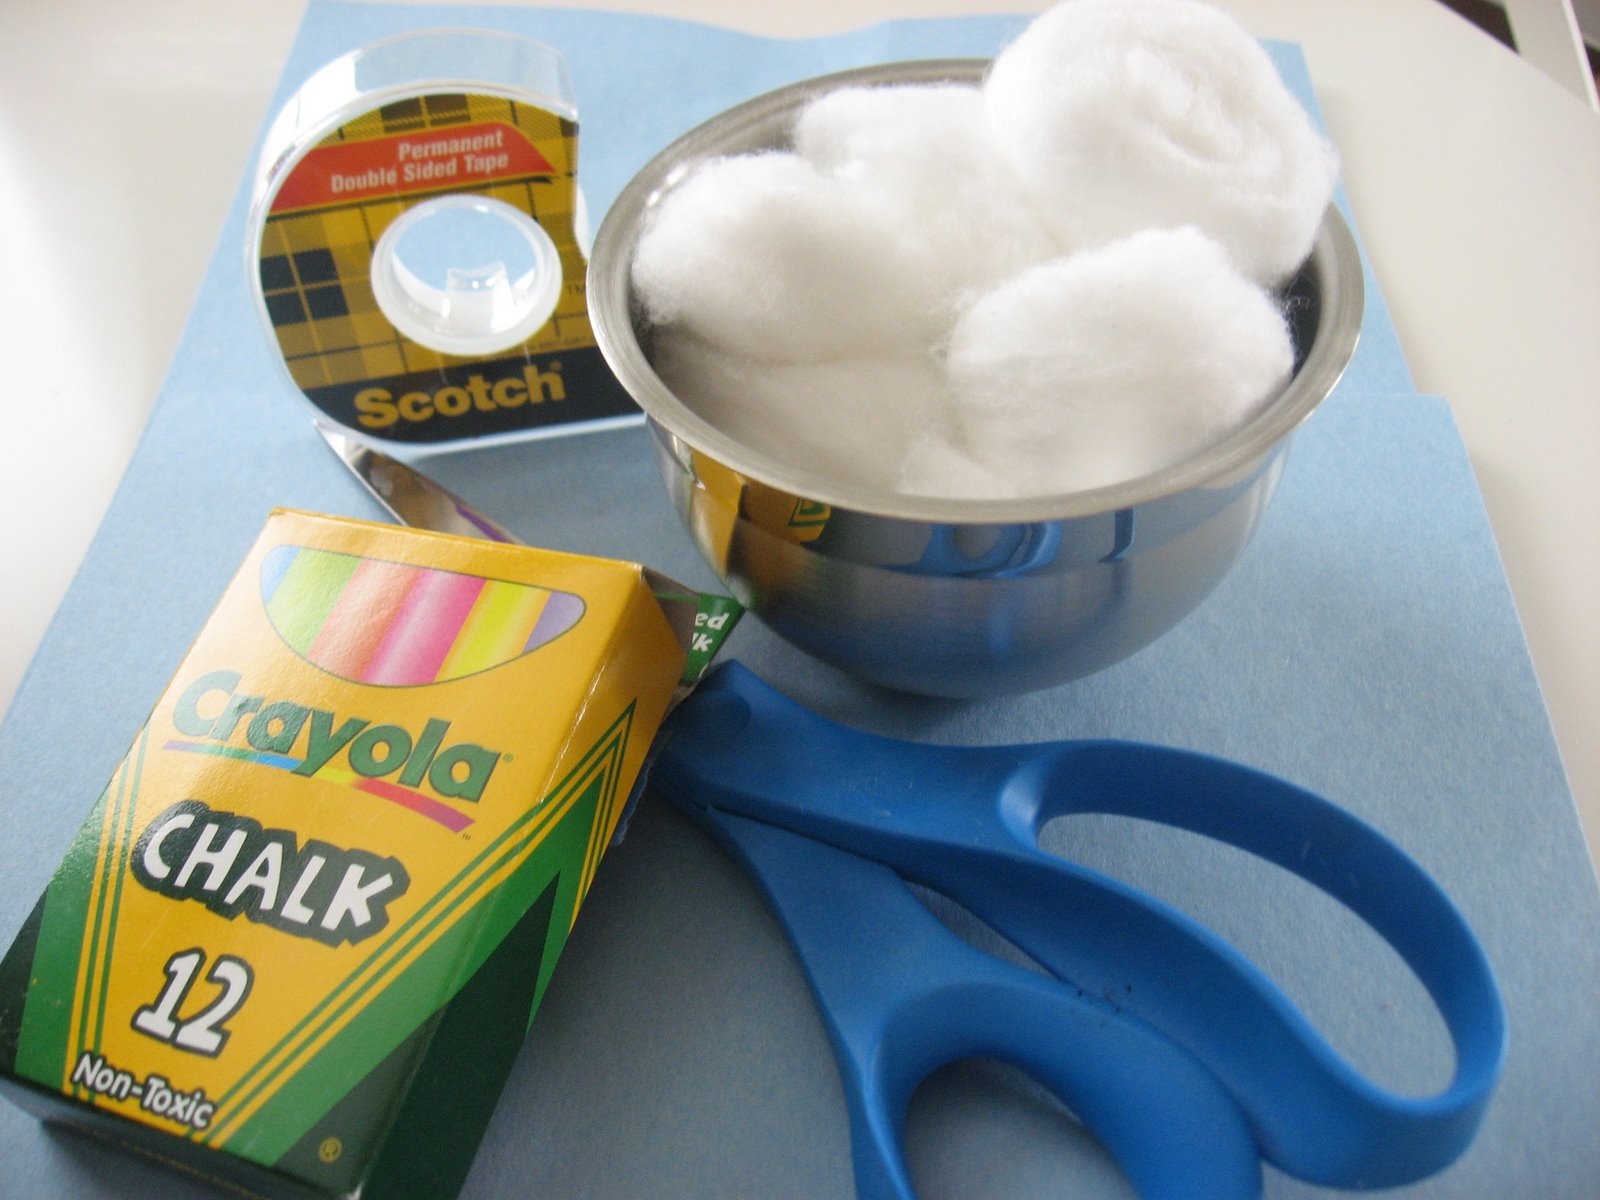
- Gather your materials. You will need 2 pieces of construction paper or card stock, some glue, cotton balls , double stick tape or a stapler and some chalk.
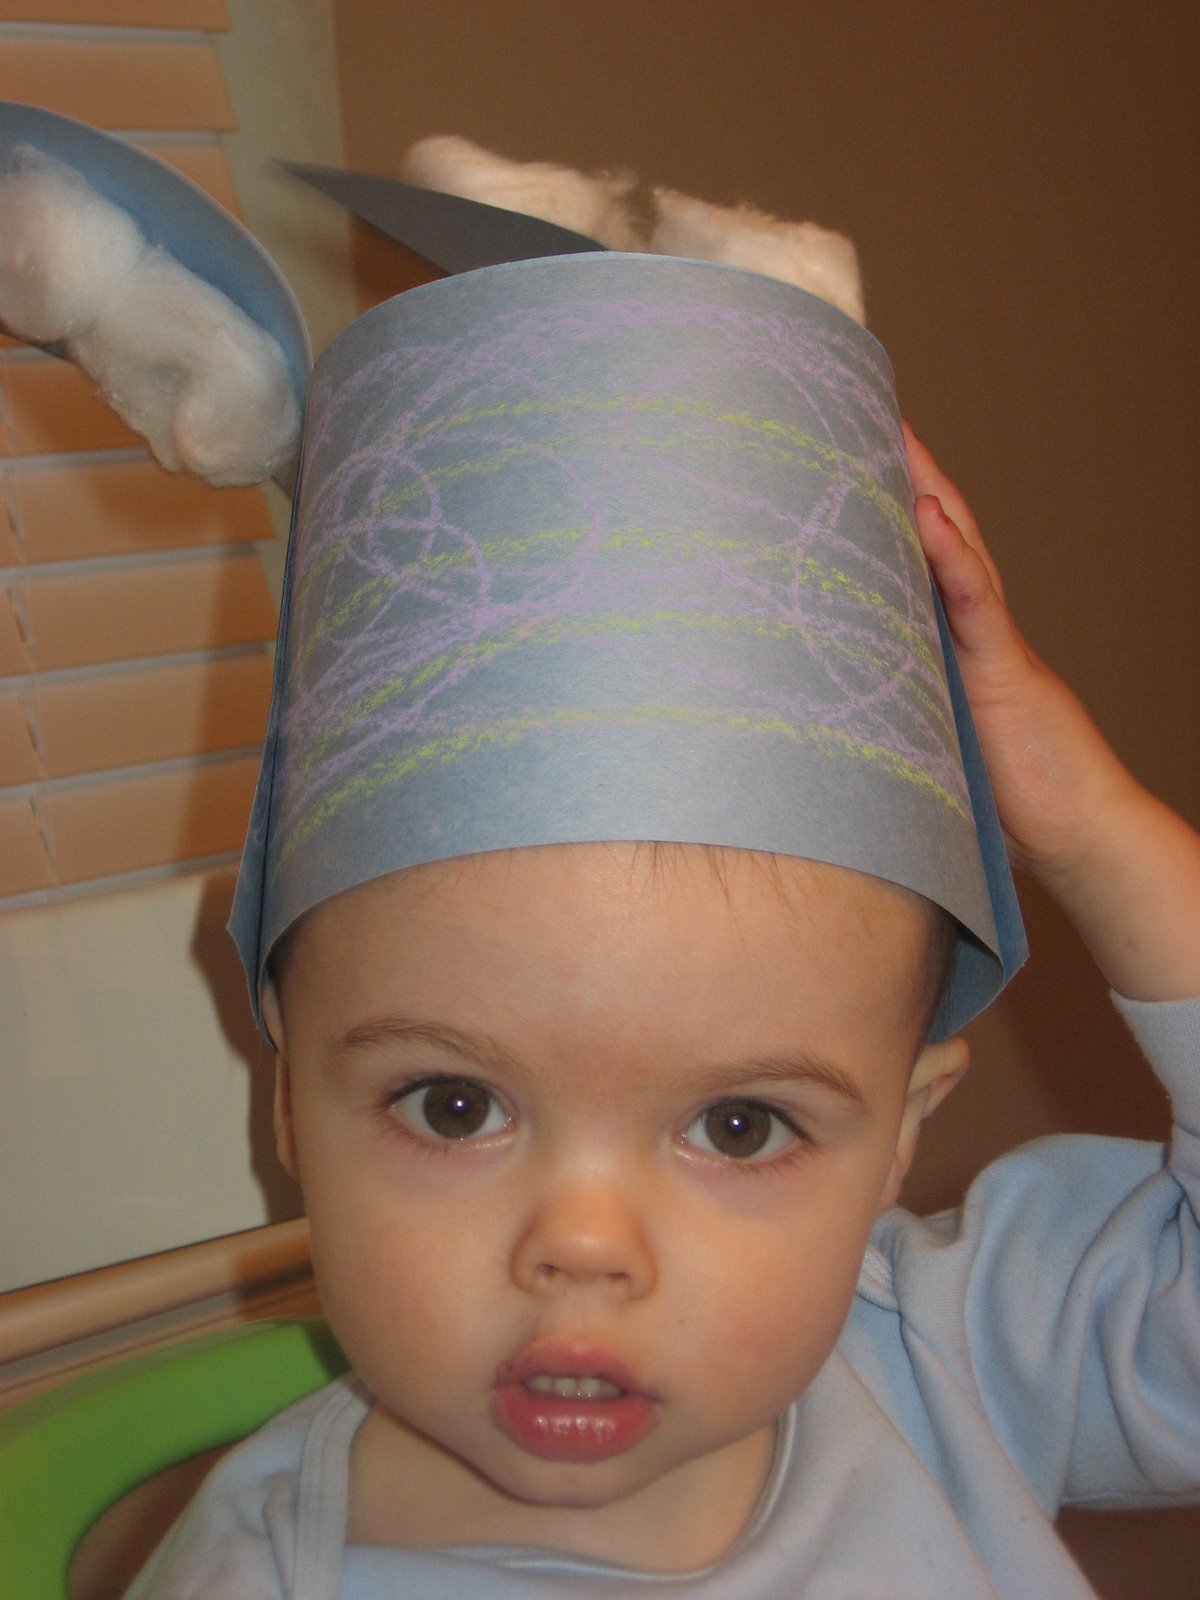
- Give your child one piece of the paper and the chalk to decorate it with. I use chalk because it gives a soft fluffy look , but don’t feel limited to that.

- While they color, fold the 2nd piece of paper in two .
- Draw a bunny ear, and cut through both layers.

- Using the glue attach the cotton balls to the ears. Let dry.

- While your child is gluing , take their colored piece of paper and cut in two lengthwise . Using double stick tape or stapler, create a headband that will fit your little bunny’s head. I don’t suggest glue, it’s too messy for this step.

- When the ears are completely dry attach them on either side of the headband! Again i suggest using double stick tape or a stapler for this step.


Easter Cupcakes
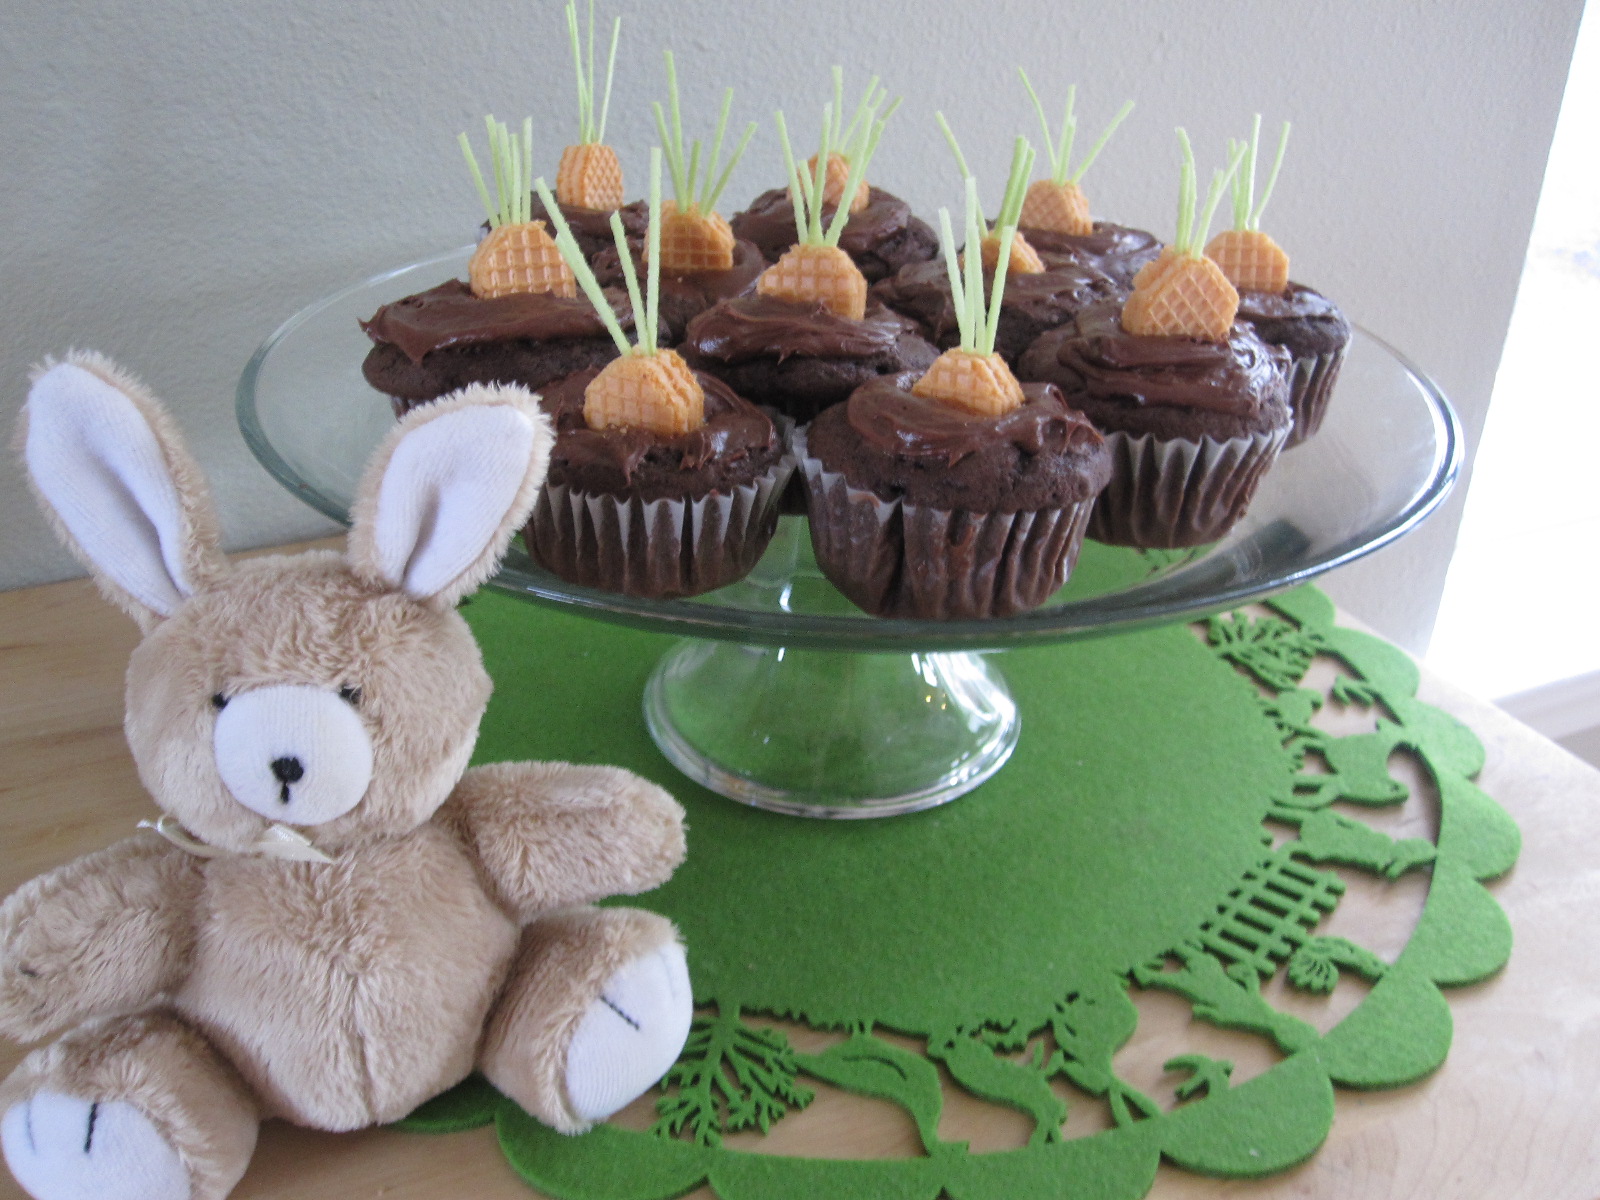
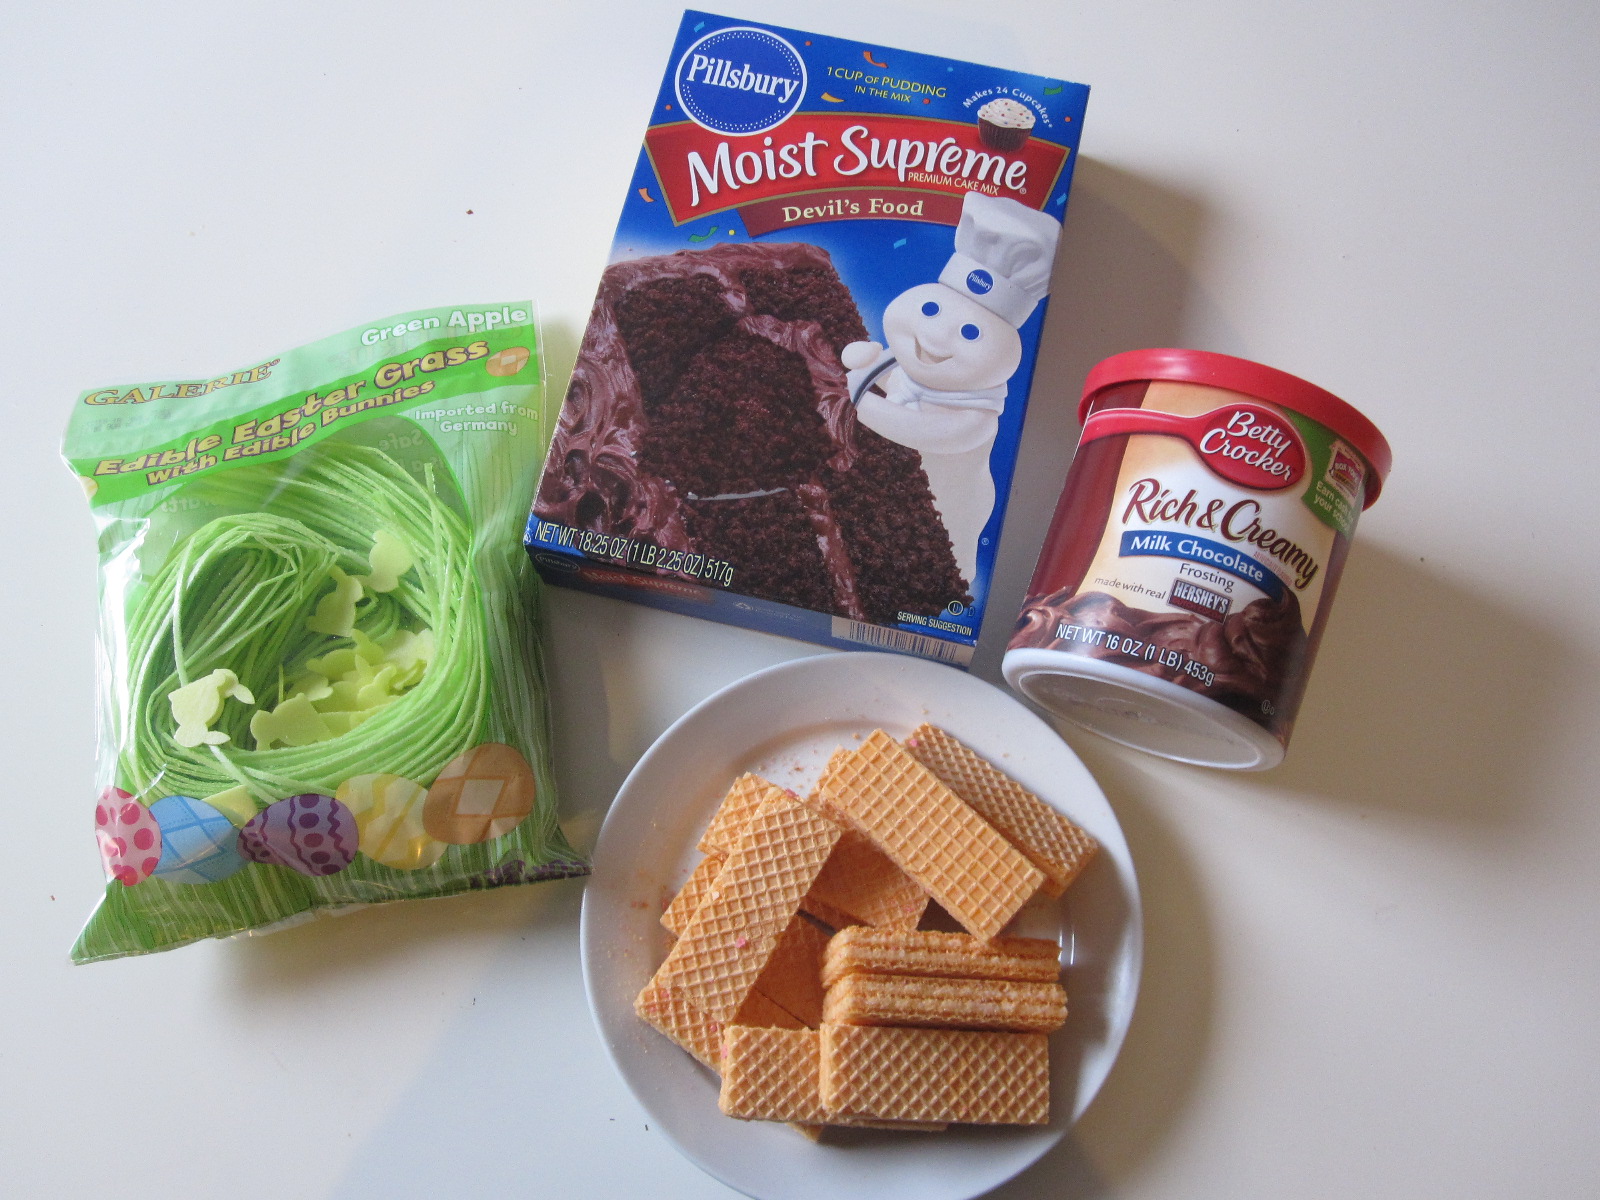
- Gather your materials. You will need cupcakes, icing ( any type will do) , orange wafer cookies ( vanilla) , and edible Easter grass.
- Start by making your cupcakes. I am so not a baker, mine come from a box more often than not.
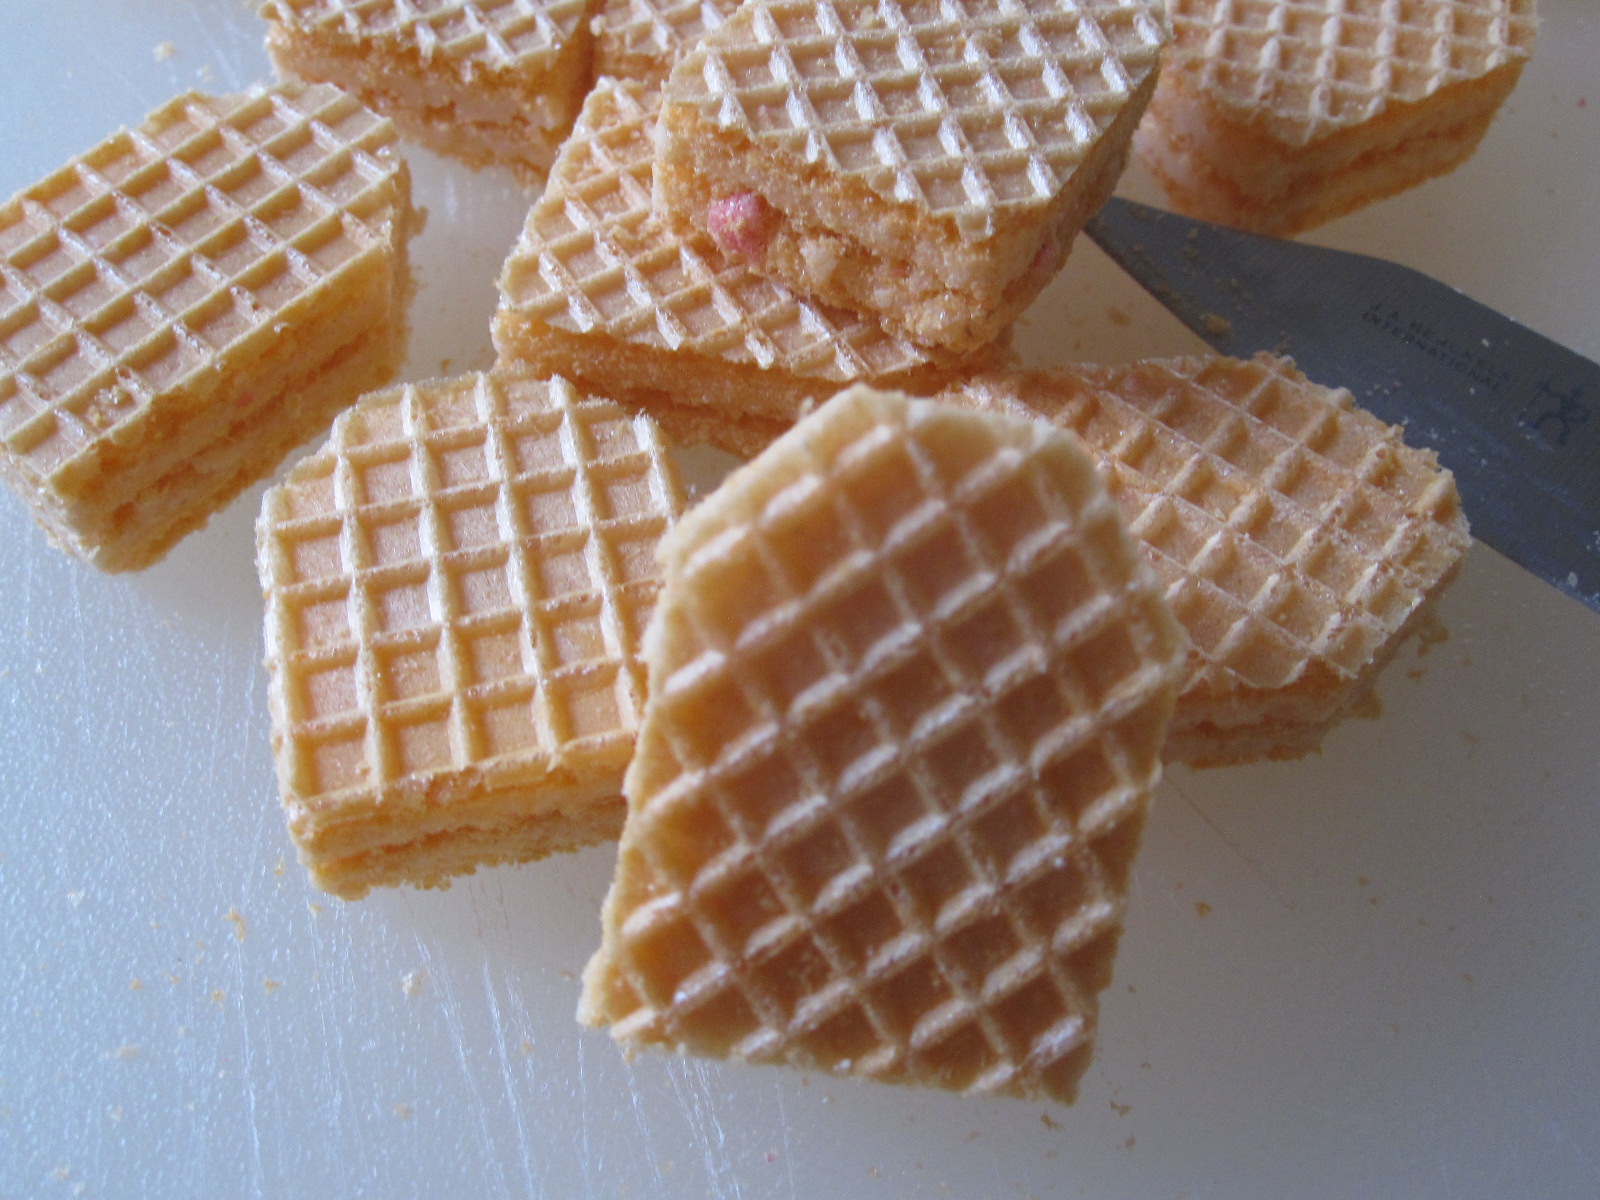
- Cut your wafers in half and cut the corners off.
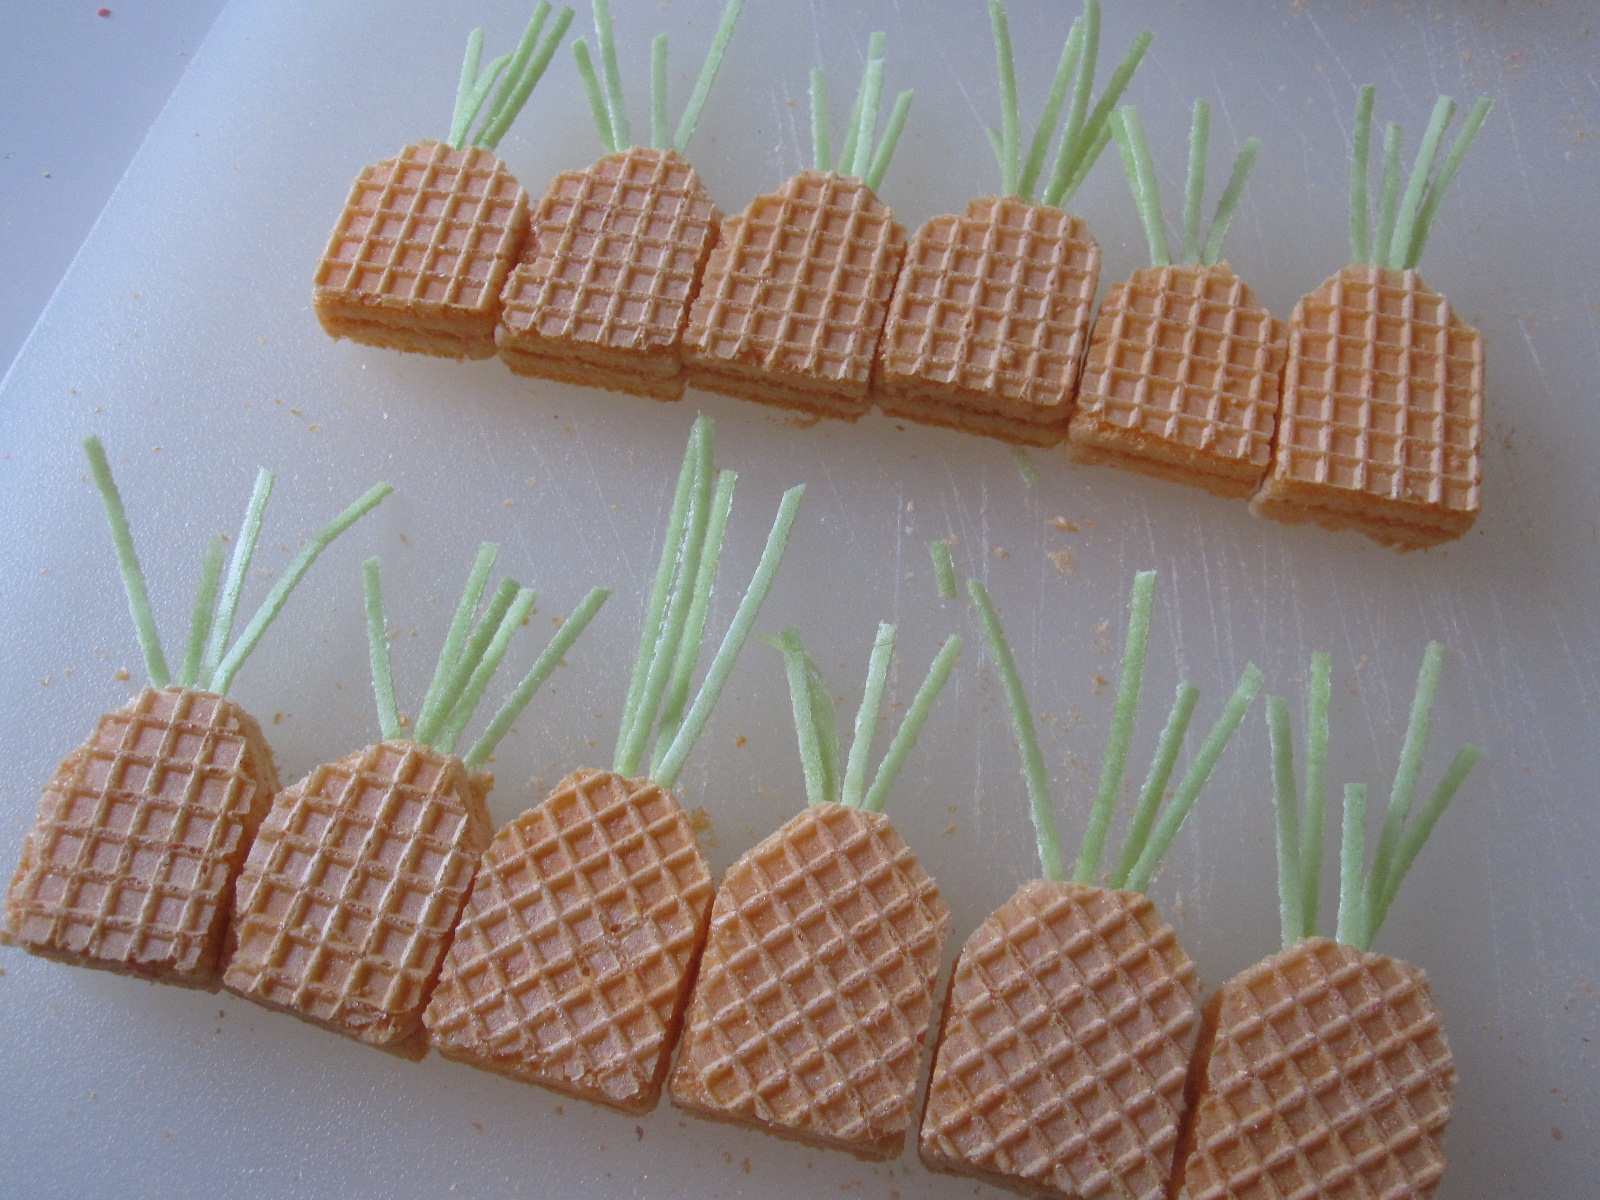
- Carefully slide edible Easter grass into the top of the wafer.
- Bake and cool the cupcakes.
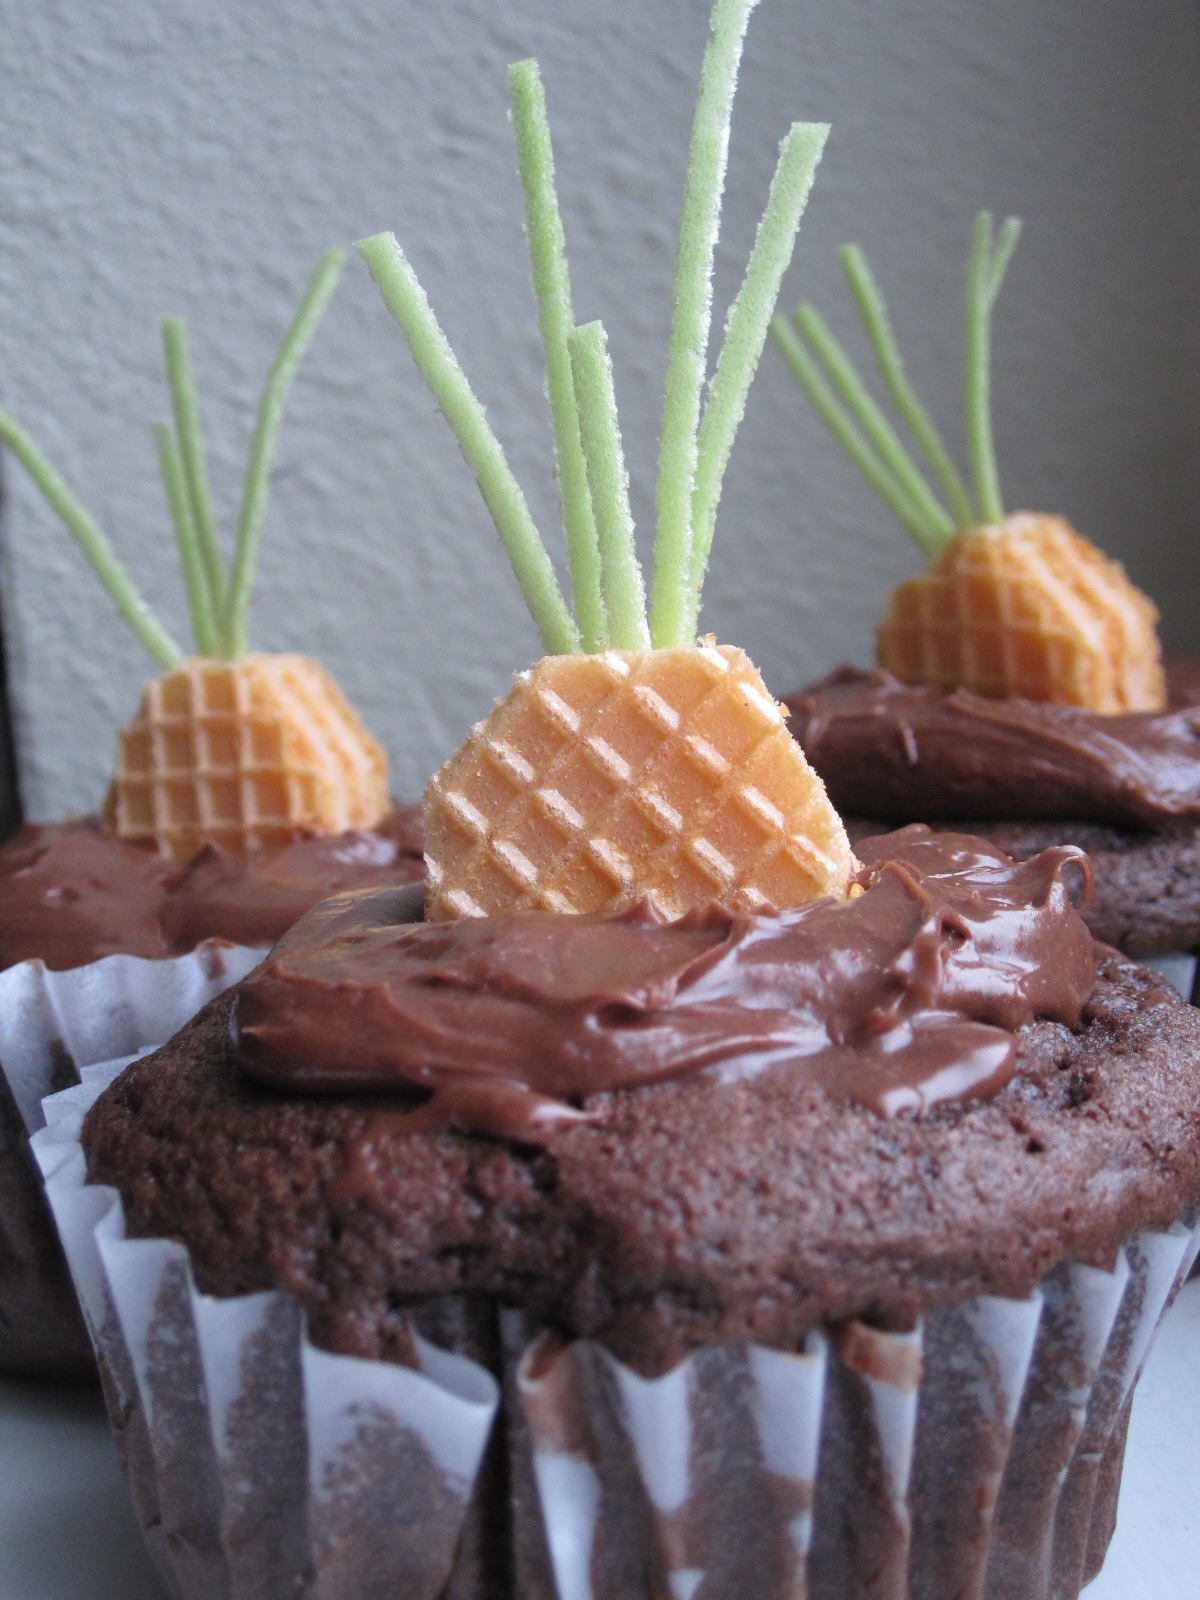
- Ice.
- Press a carrot in the middle.
- Enjoy!

Collage Easter Eggs

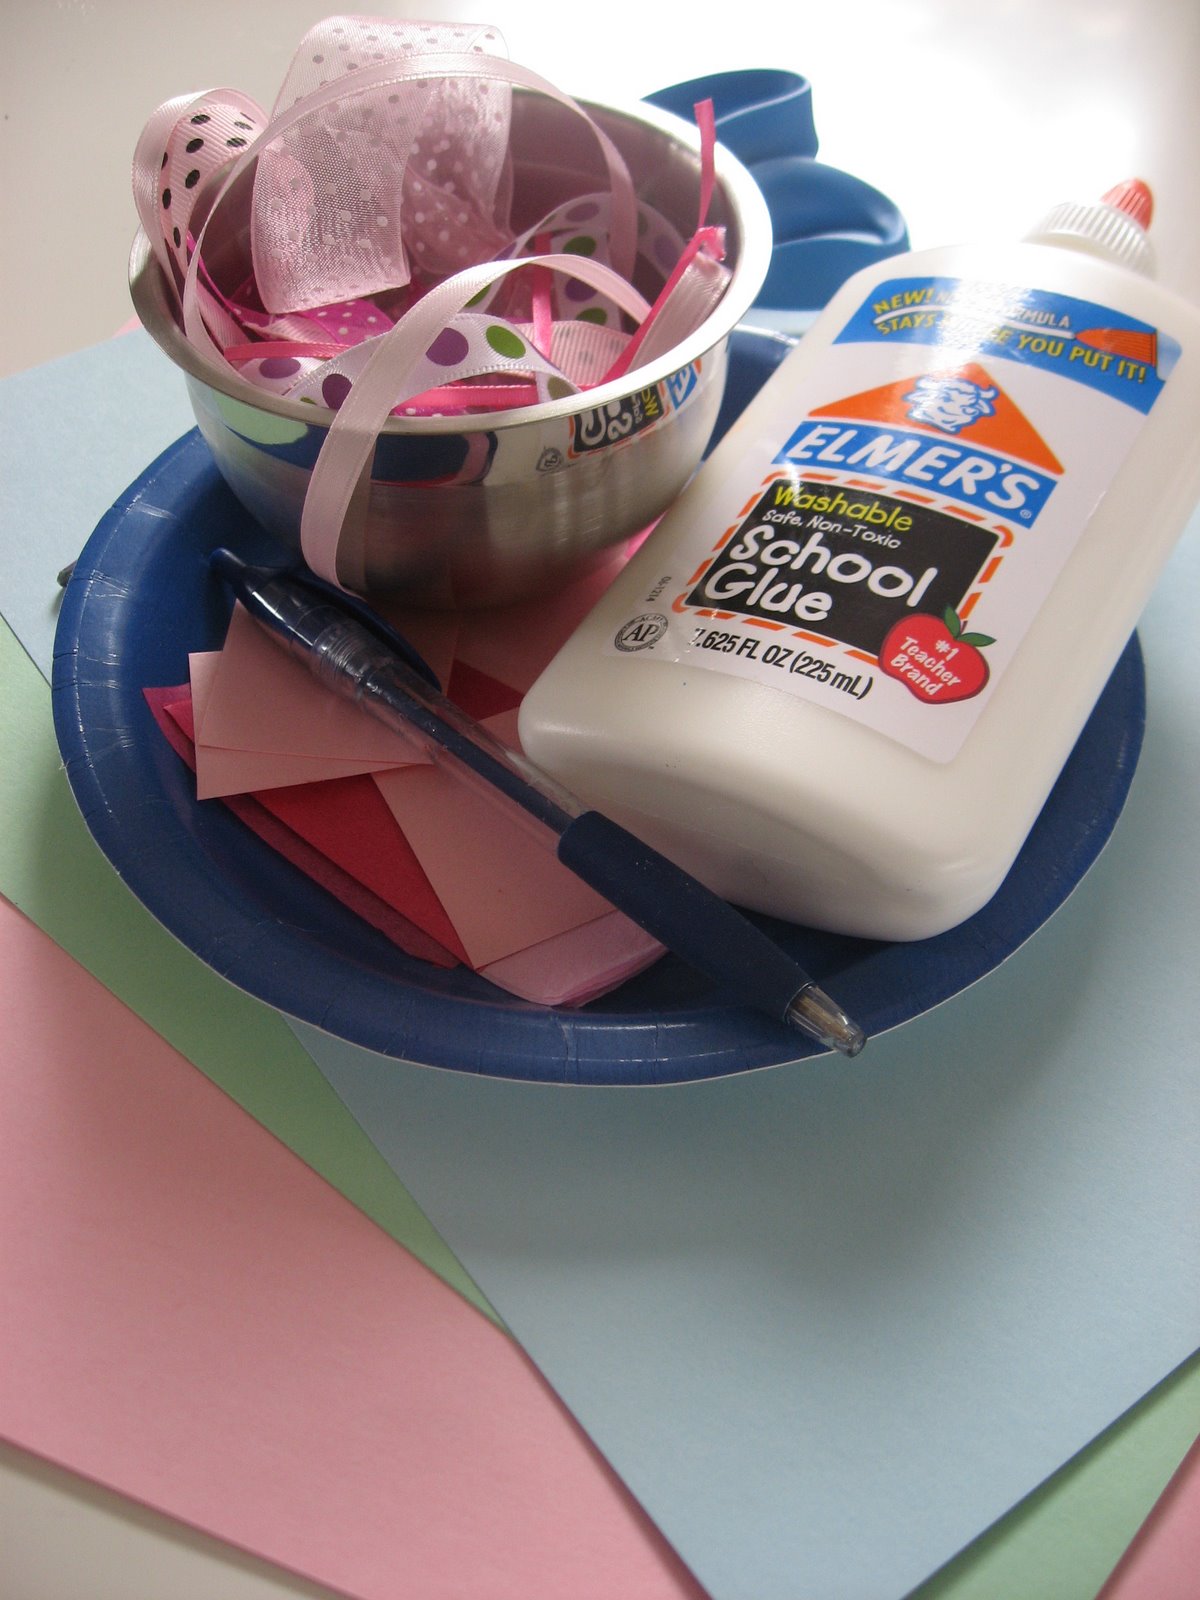
This activity allows children to experience how different materials work with glue and paper. Although simple to adults, children can learn many things about texture, thickness and any other attributes that the chosen materials have. Don’t limit yourself to tissue paper, use ribbon, rice, dried beans or pasta even. Older children can even make patterns !
- Gather your materials. I used 2 different thicknesses of paper ( tissue and card stock) , and a number of different ribbons for this egg. Having a small toddler I stayed away from pasta and beans since they can present a chocking hazard when uncooked. For the egg I used card stock, and of course you will need glue.
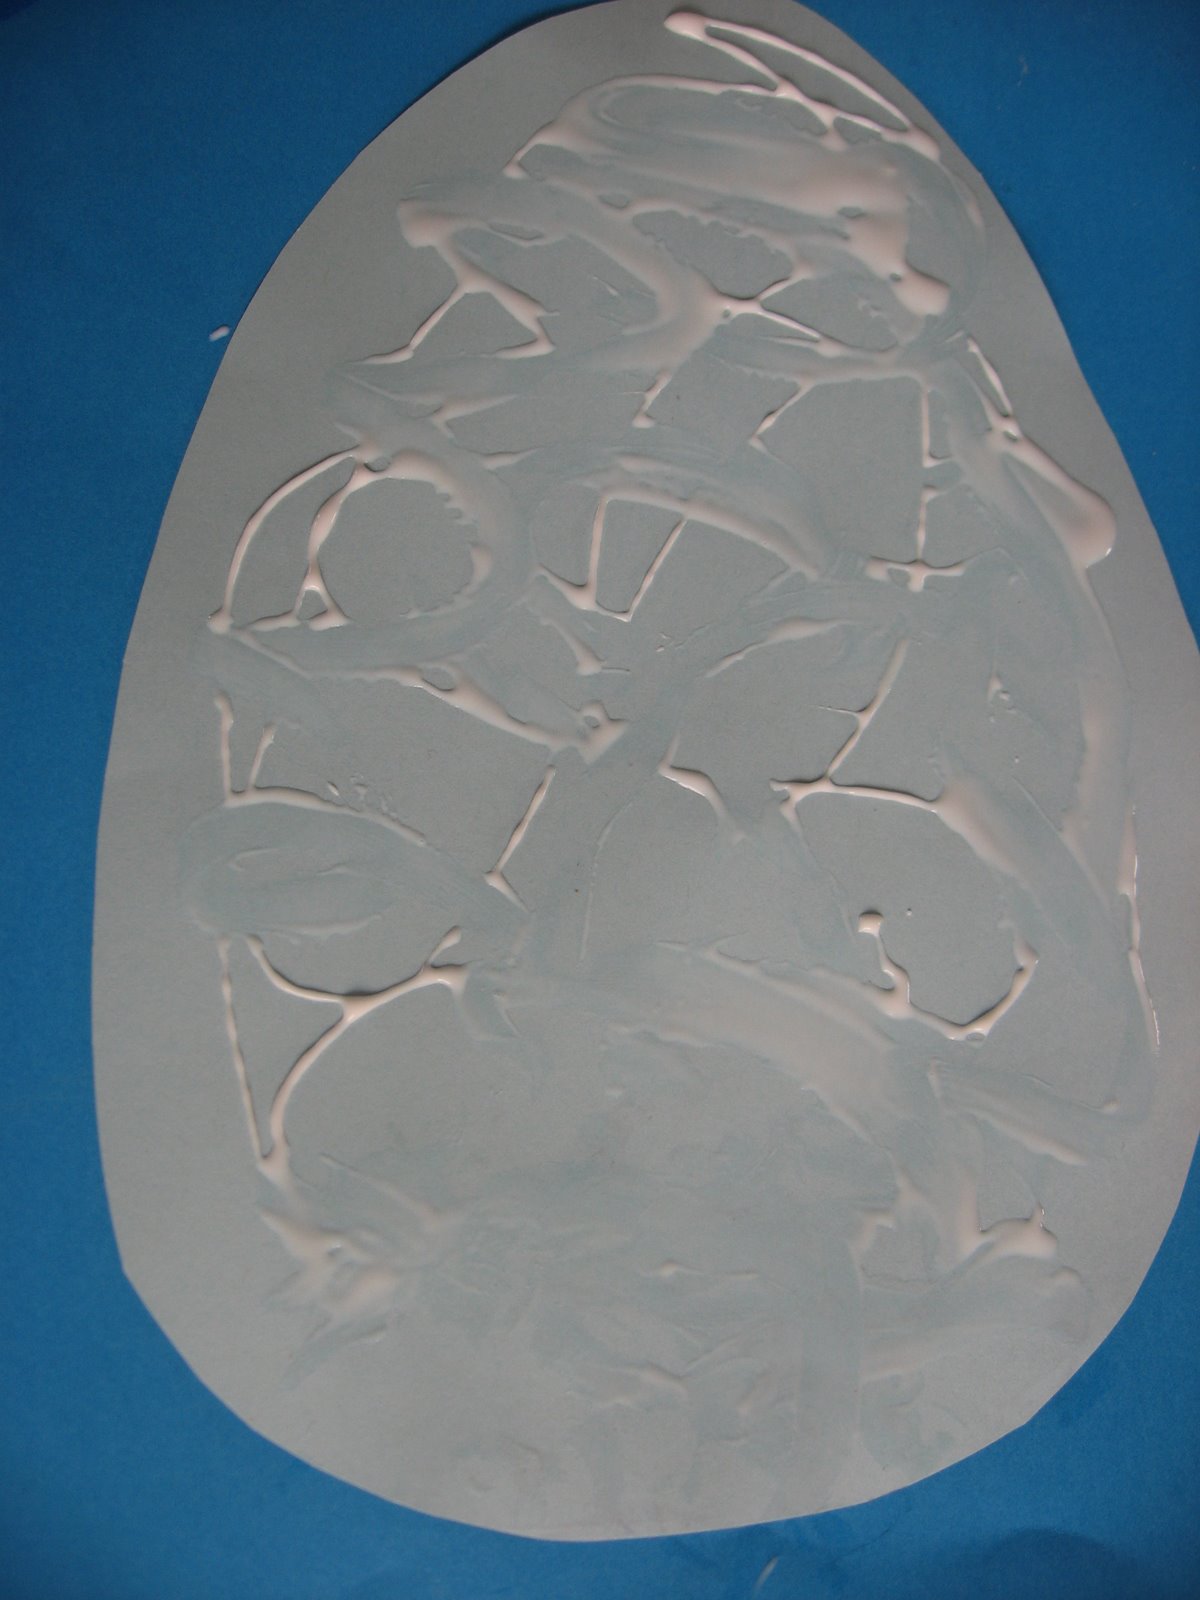
- Cut out a large egg shape out of card stock, or cardboard.

- Spread on some white glue.
- Start the masterpiece! While your child is placing the materials on the egg you can ask them about what they are doing, ask how the material feels, if it will need a lot or just a little glue to stick on , what color and shape it is… but remember not everything has to be turned into a parent/teacher directed learning experience. If your child thrives on this interaction go for it , but if they thrive on individual creative play, let them take what they need from this activity and follow their lead.

- Glue the egg on a large piece of paper if you want for a more finished look.


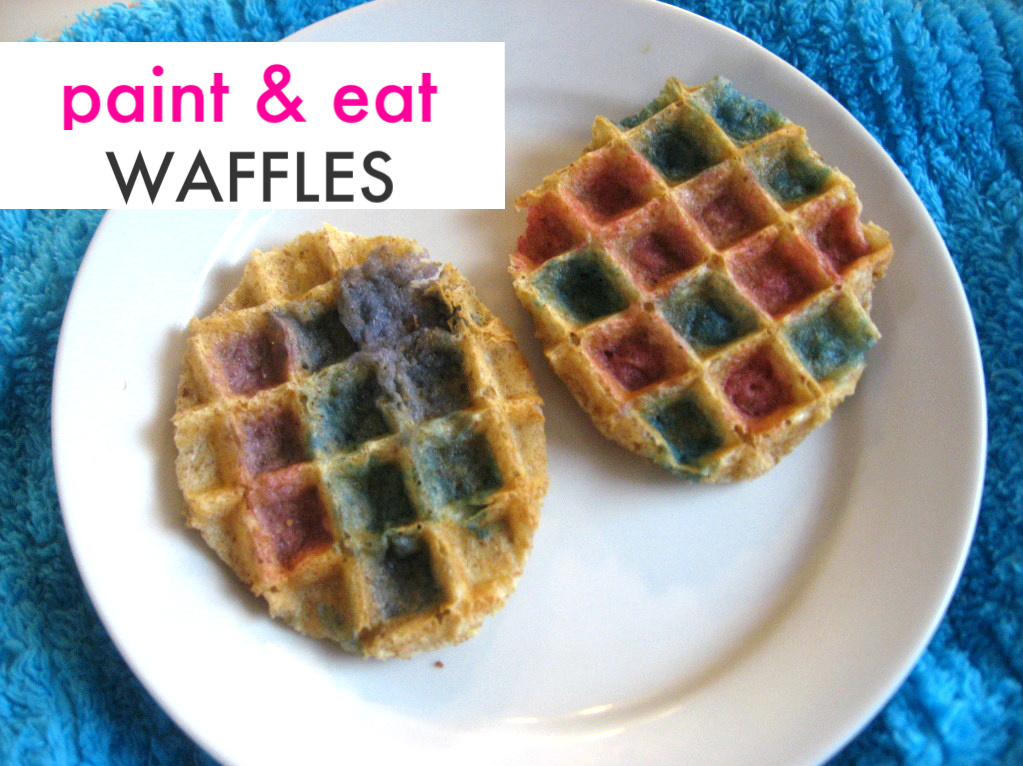
- Gather your materials. You will need some food coloring, milk, a paint brush, waffles ( lightly toasted), and an Easter egg cookie cutter.
- Mix your food coloring with a splash of milk, you don’t need much!
- Cut the waffle into the shape of the egg.
- Start painting.
- I made stripes.
- Toast and serve!
- Eat.


Easter Chick Treat Box Craft

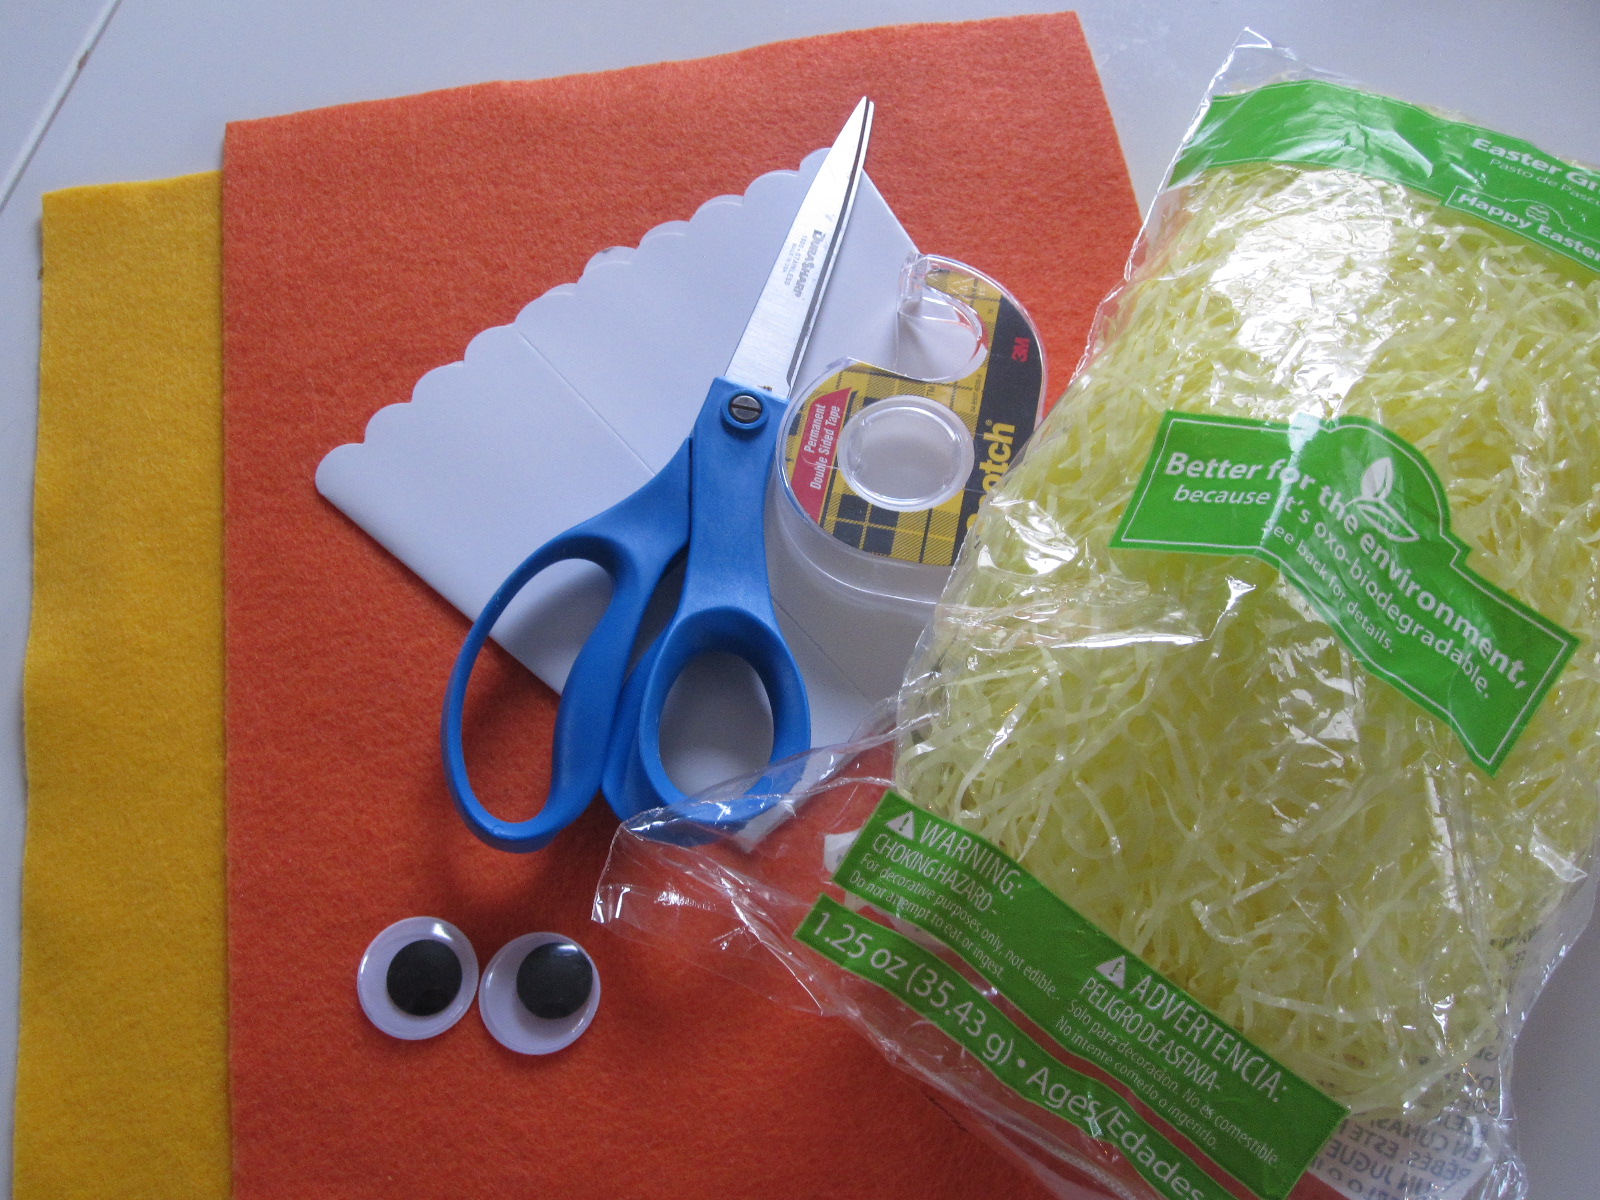
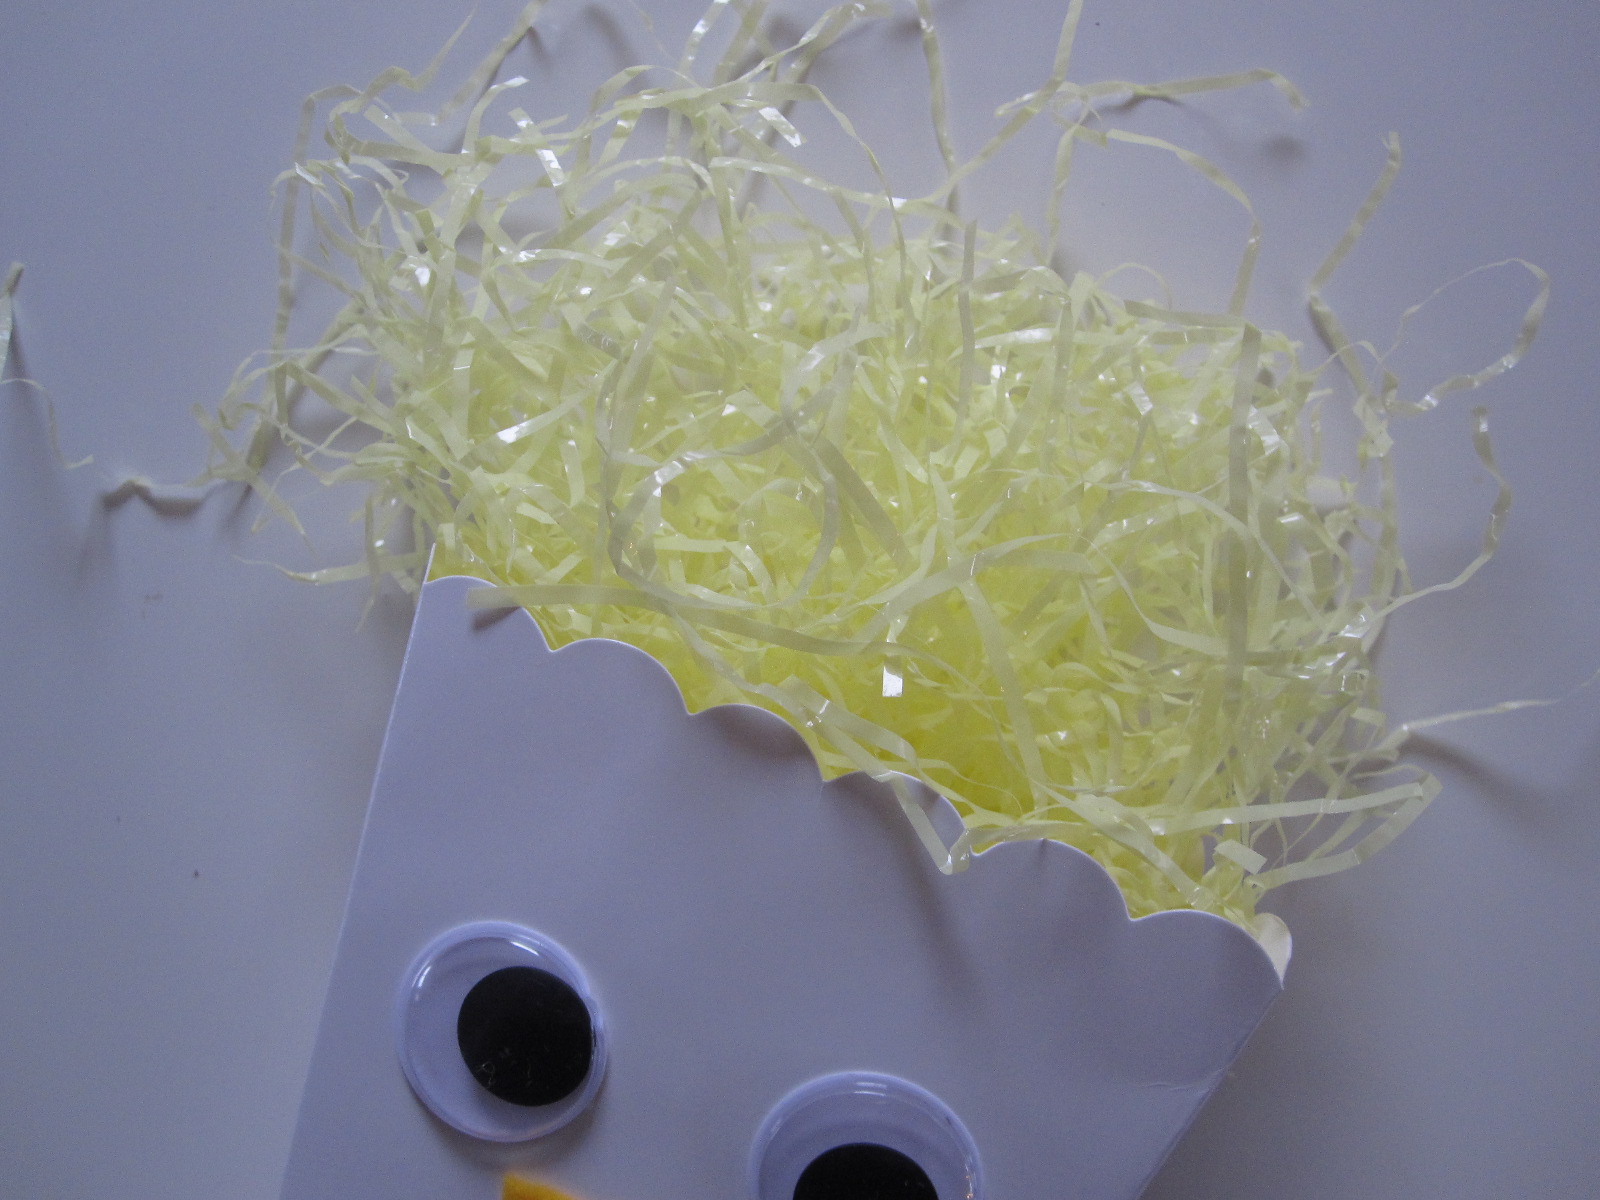
- Gather your materials. You will need a party treat box ( we found ours at a big box store in their party section), some Easter grass, googley eyes, yellow felt , orange felt, scissors and permanent double stick tape.
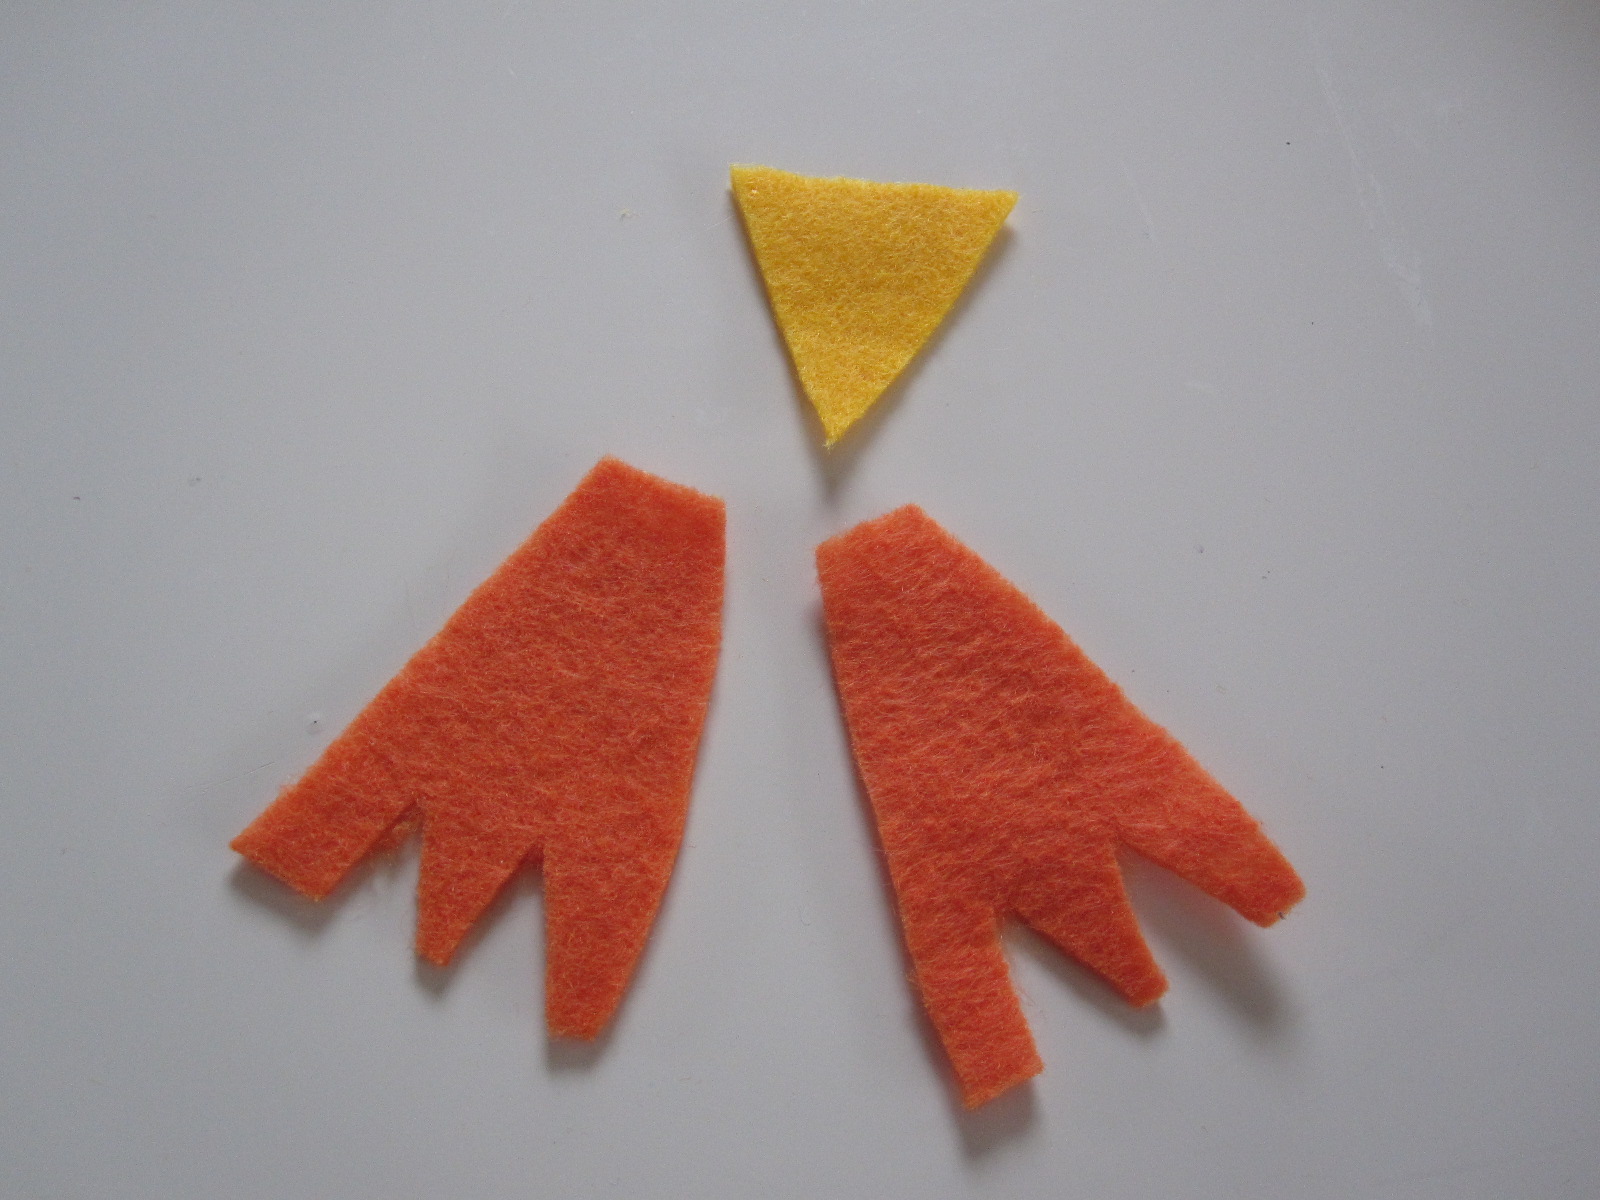
- Cut a beak and 2 feet out of the felt.
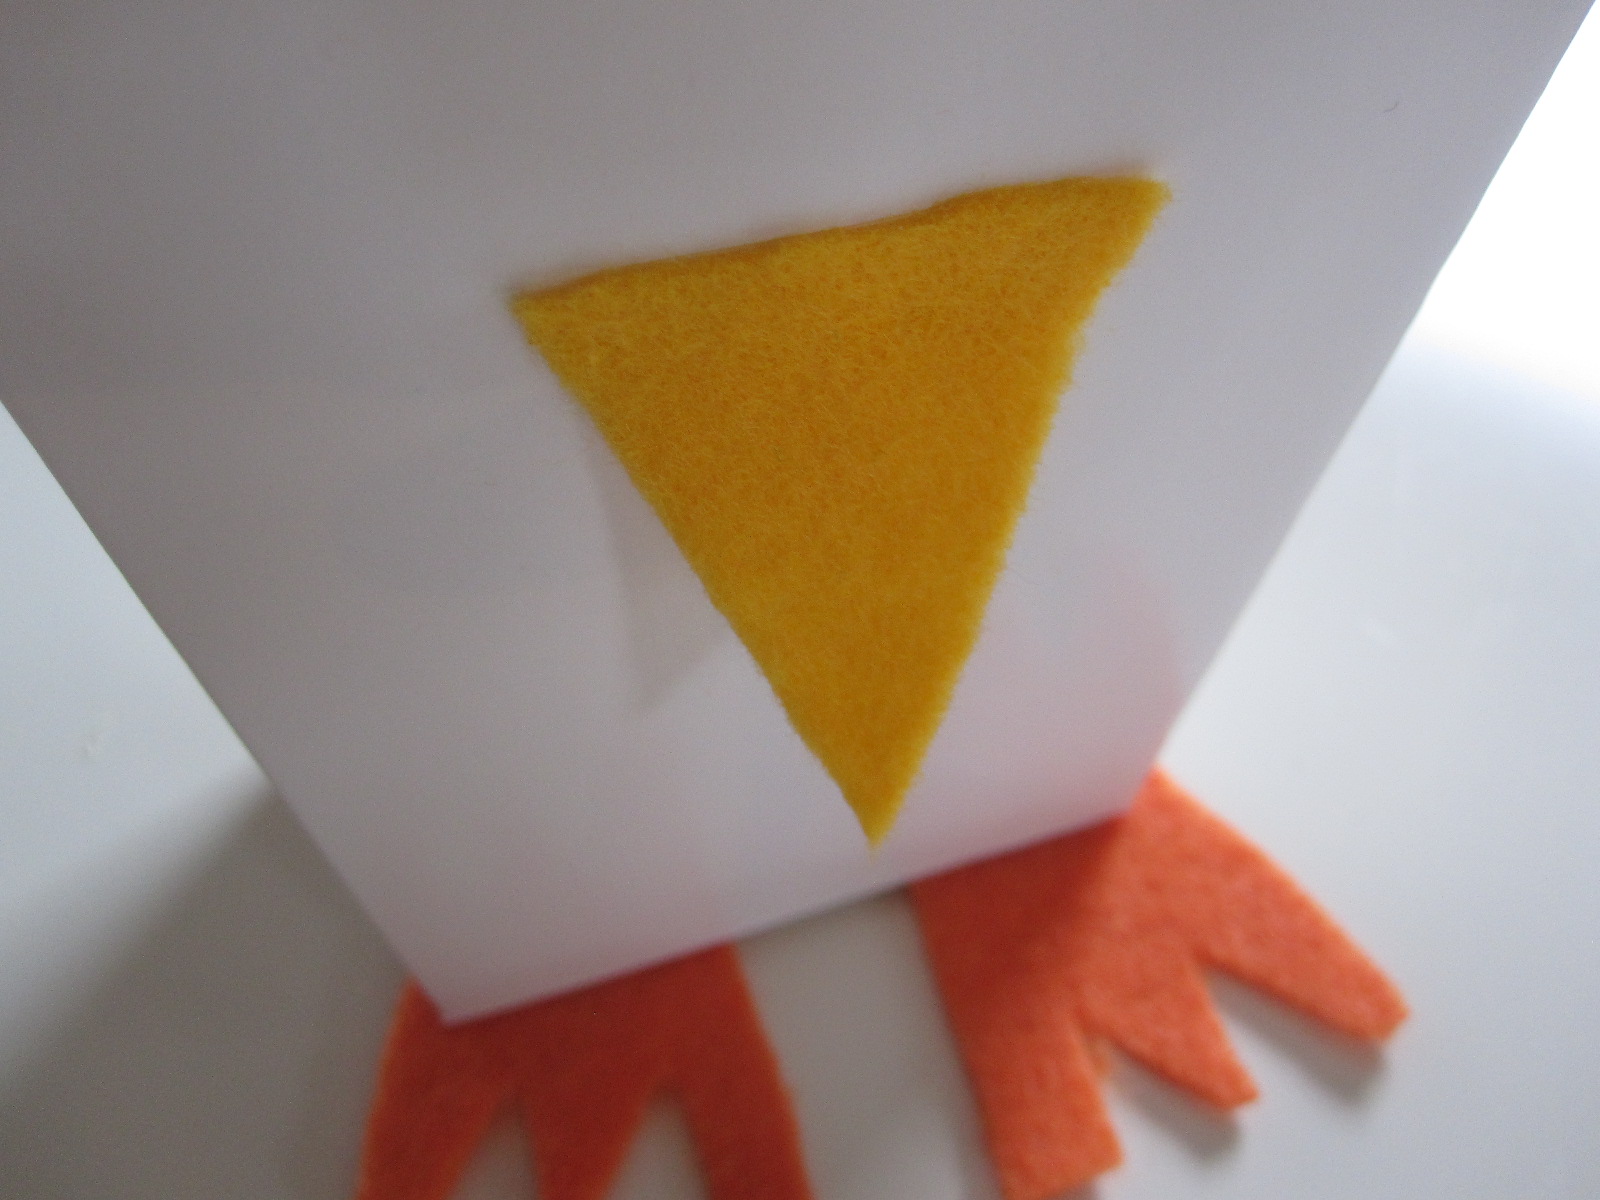
- Tape them on.
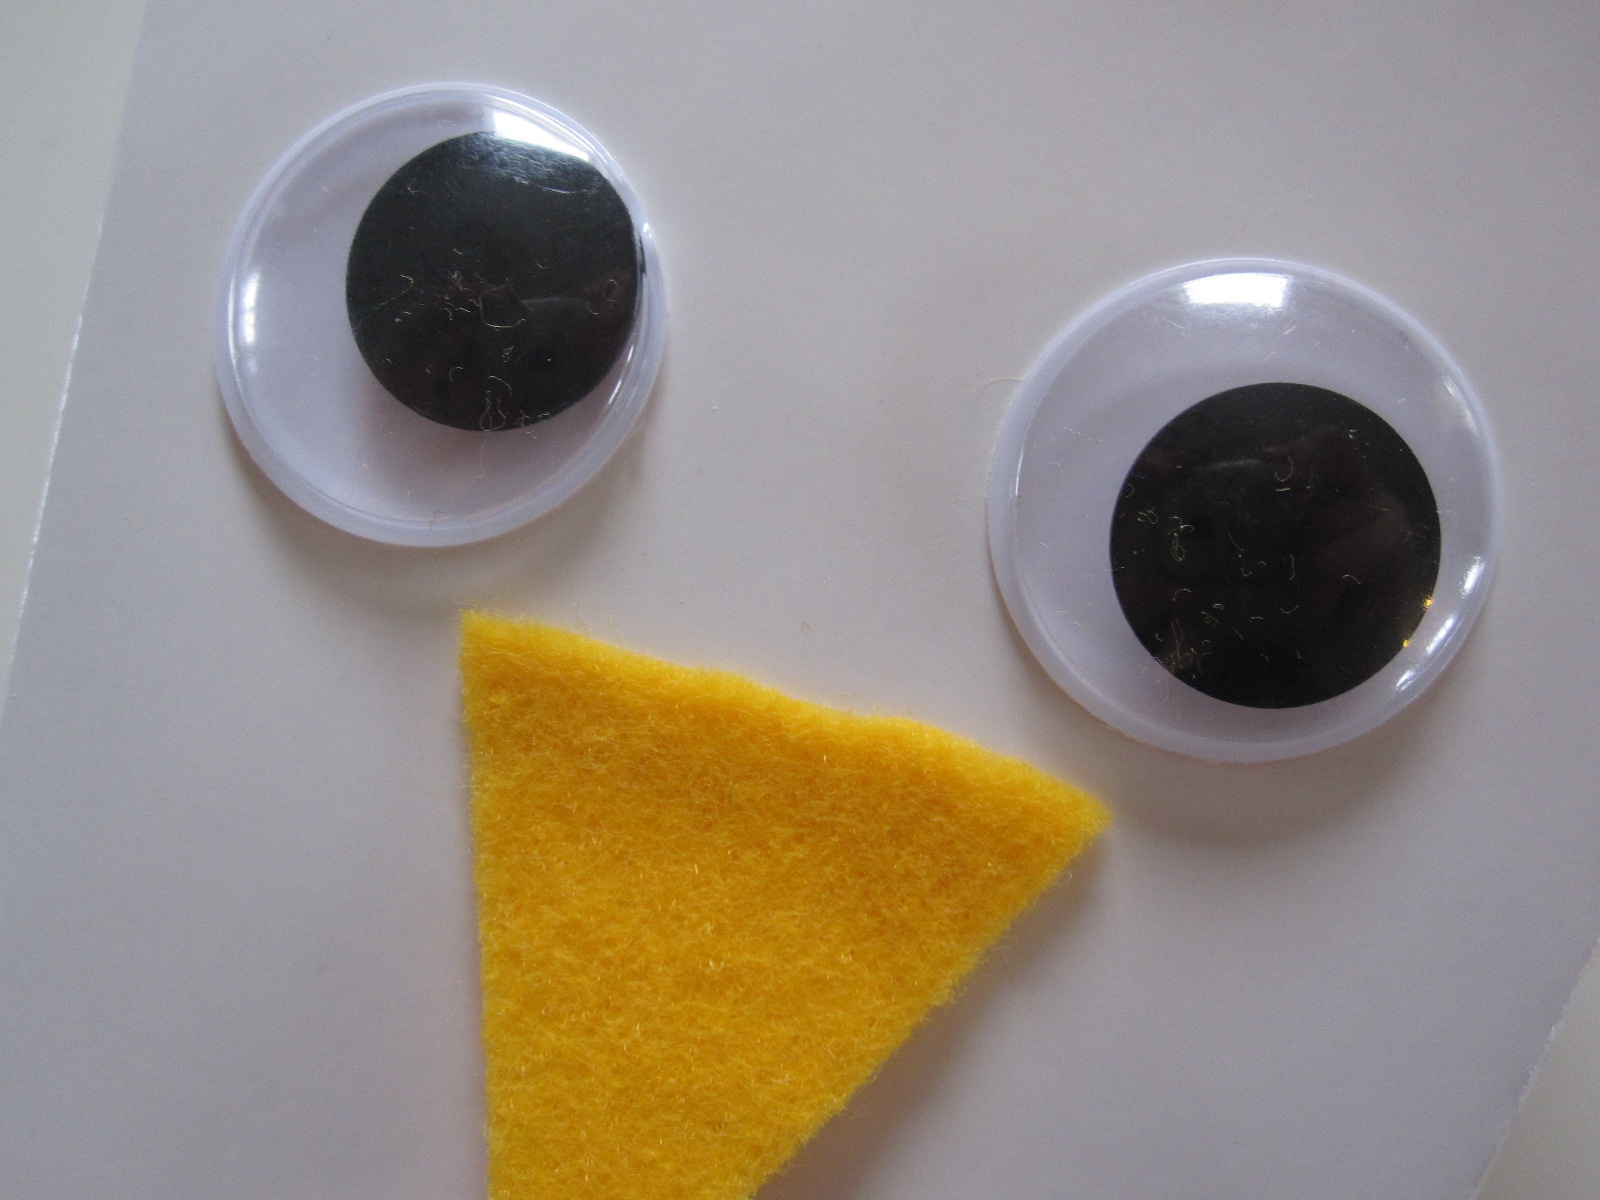
- Tape the eyes on
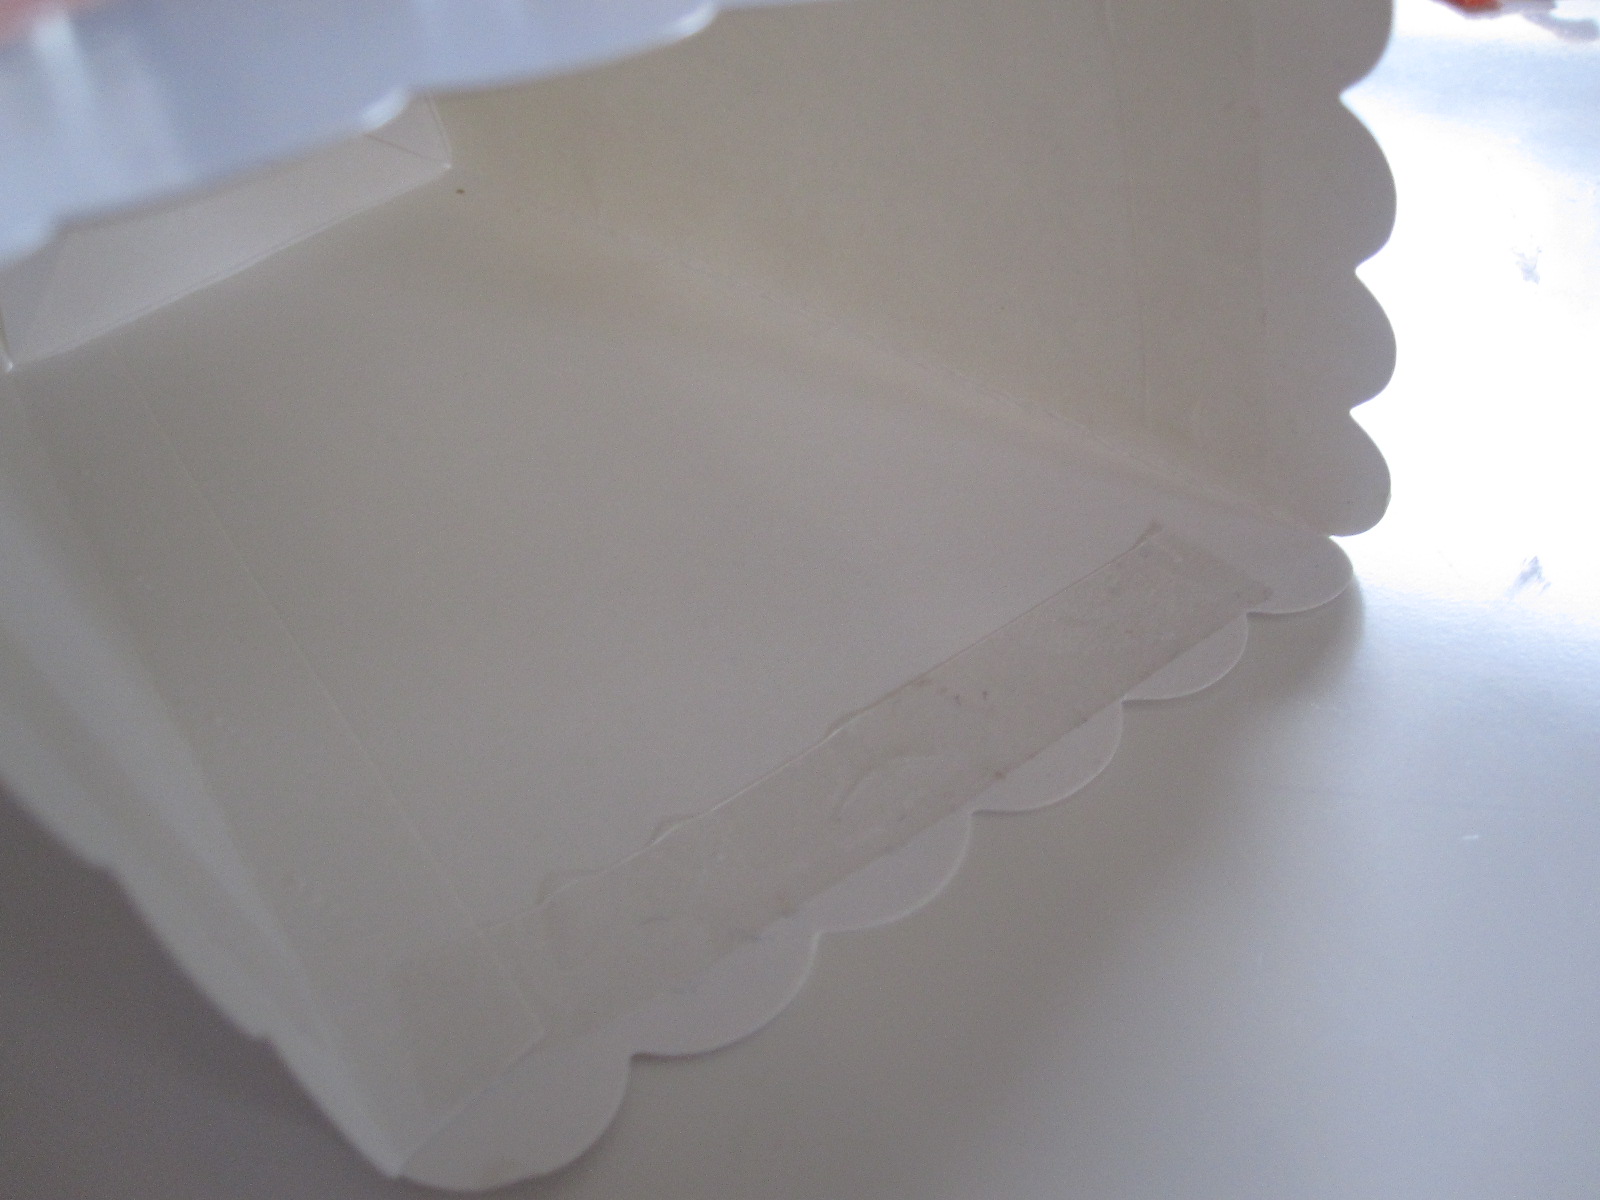
- Put double stick tape along the inner edges of the treat box.
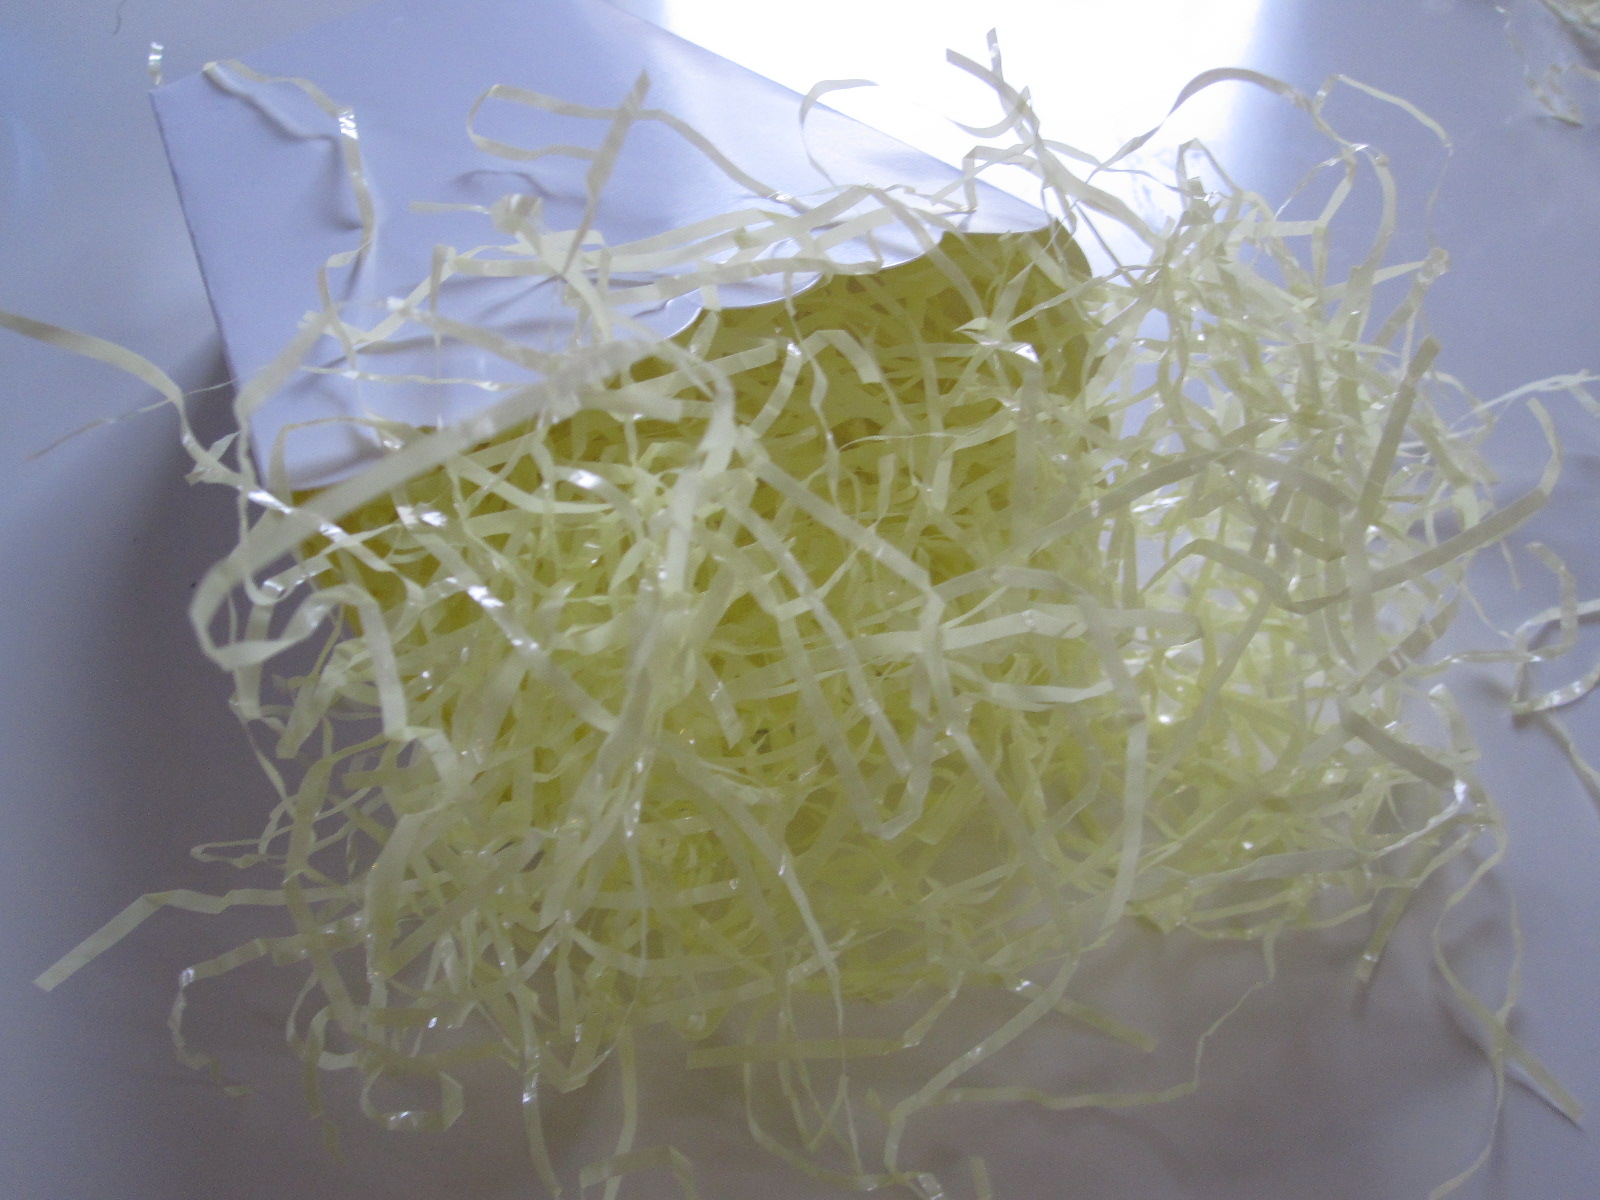
- Press Easter grass onto it.